Showing posts with label sewing. Show all posts

Thursday, April 4, 2013

DIY Spring Pencil Skirt


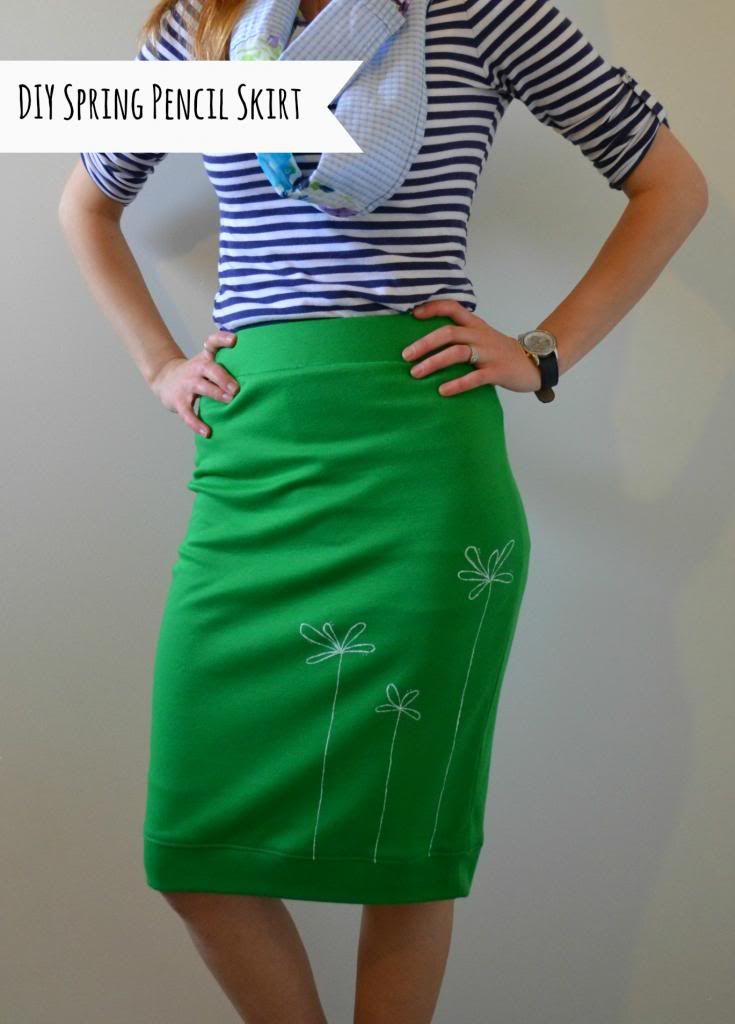
Springtime = bright colors! I love it!

Materials Needed

1 yard knit fabric
matching thread
fabric paint
elastic {for the waistband}


Go To It

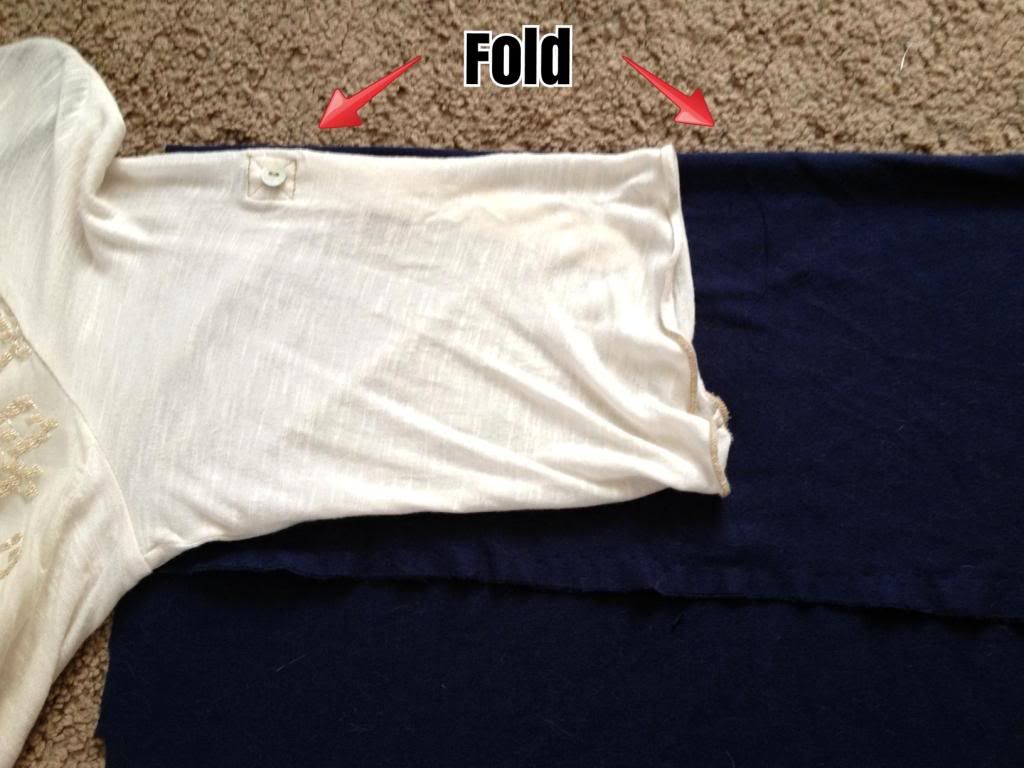
First, fold your fabric so that it's doubled up. Then, grab a pencil skirt you like the shape of and lay it out on your fabric. Trace around your skirt, leaving about 1/4 to 1/2 an inch for seam allowance.


Take the width of your elastic {mine was 2"} and times it by two {4" for me}. Make the top of your outline a rectangle:  the length of your waist measurement  x your elastic times 2 {length x width}.

Your outline will look something like this:
See how the top of the outline is squared? That's so that when you fold the elastic down you'll get a nice, clean fold.


Next, cut out your two pieces. Sew them together using the seam allowance you provided.


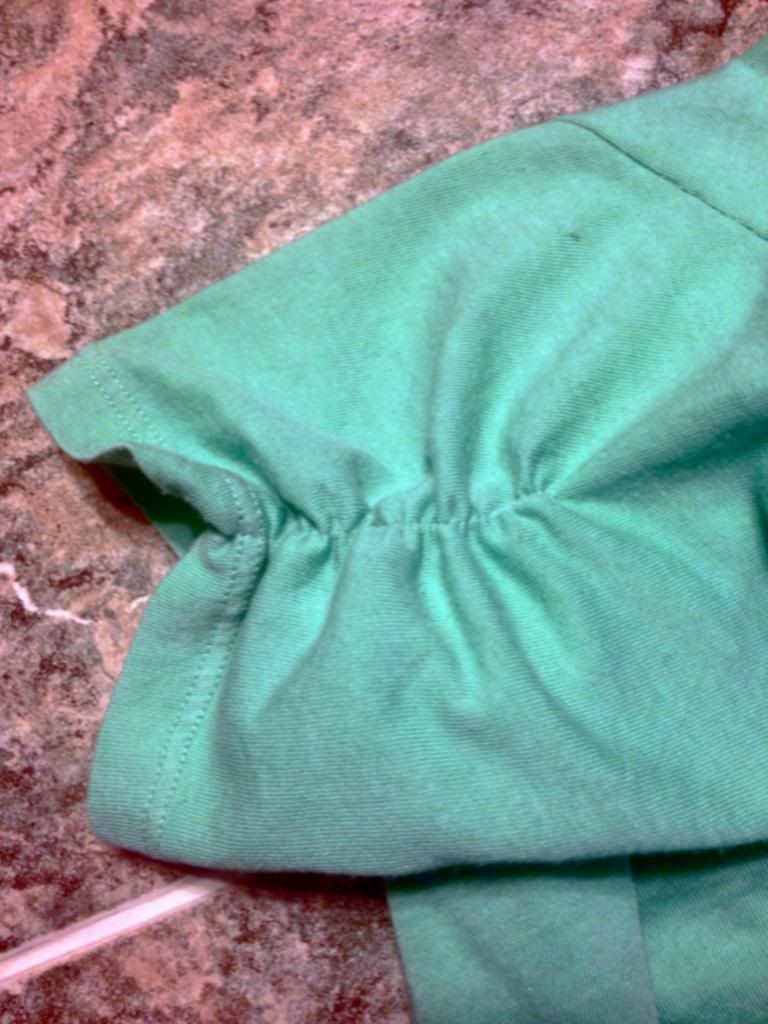
Cut the elastic to fit your waist / the top of your skirt. Sew together to two ends of your elastic to form a circle. With the skirt inside-out, sew the elastic to the top of your skirt using a zig-zag stitch.


{like my pictures?}


Next, turn the skirt right-side out. Fold the elastic down inside the skirt twice so that it's covered, and use a stretch stitch to sew it down.

Hem the bottom also using a stretch stitch {so the hem will allow stretching as you walk}, and you're done with the sewing part!


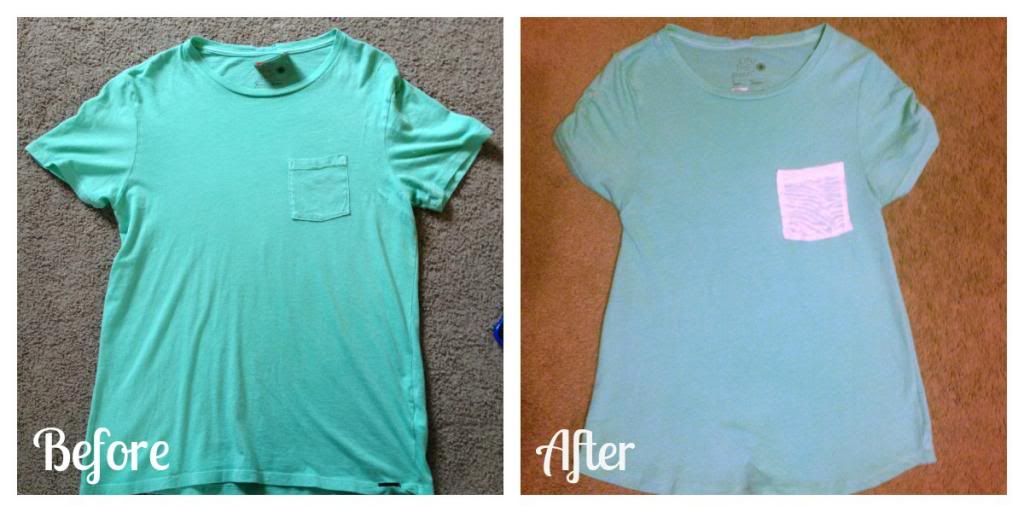
For the painted flowers {or painted whatever-you-want}, lay the skirt out flat and place a piece of cardboard underneath the front layer. 

Using a fabric pen or fabric chalk {something that will wash out}, draw your design. Then, use a small paintbrush to slowly and carefully paint over your drawing. You could also make a freezer-paper stencil.

DONE.


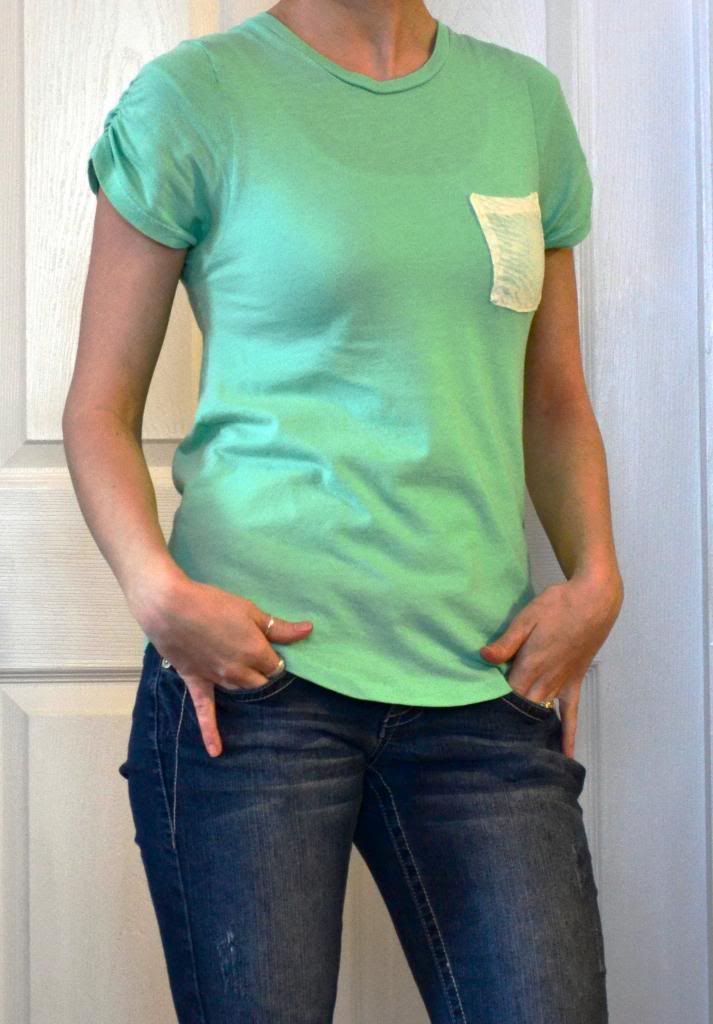
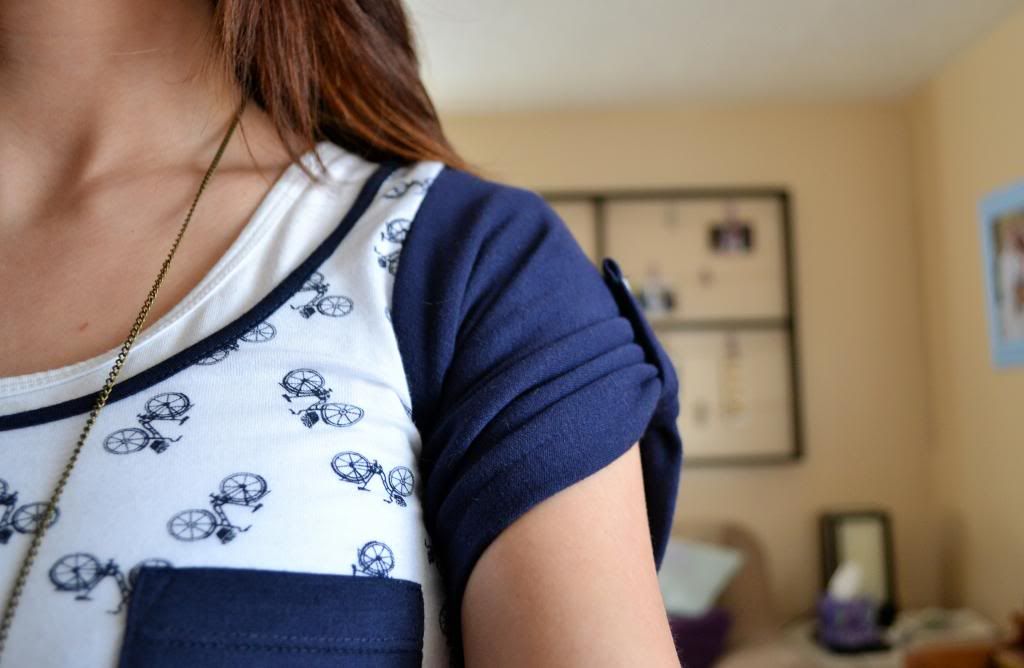
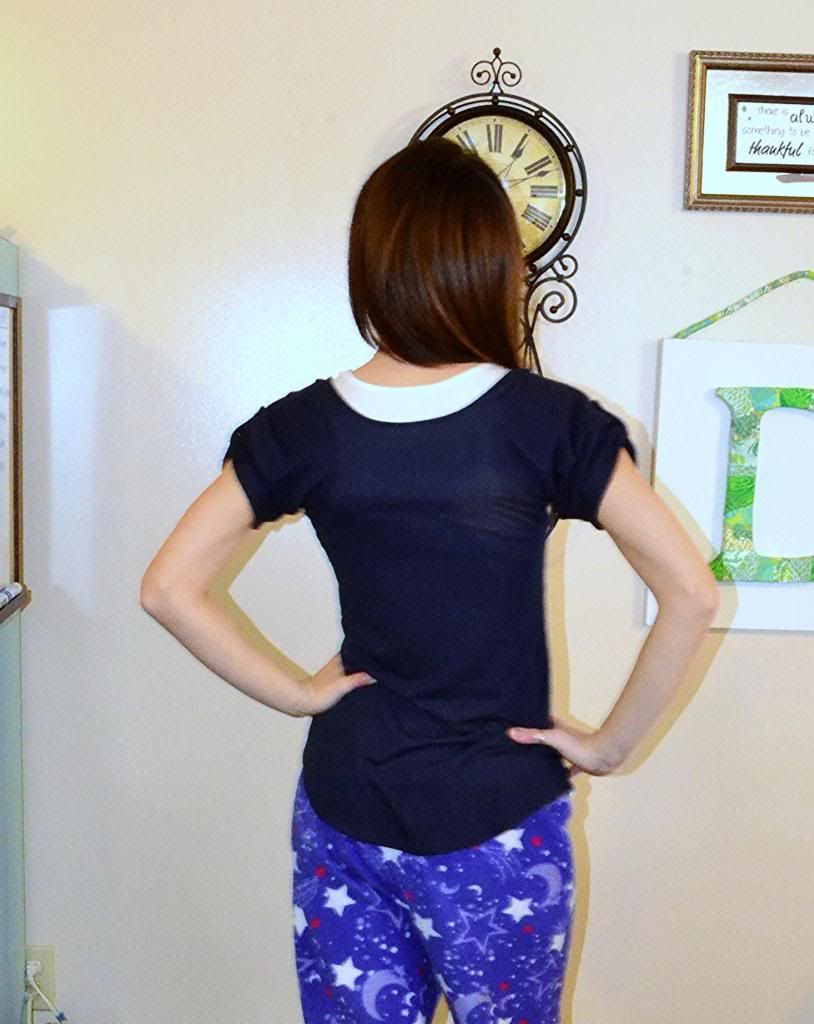
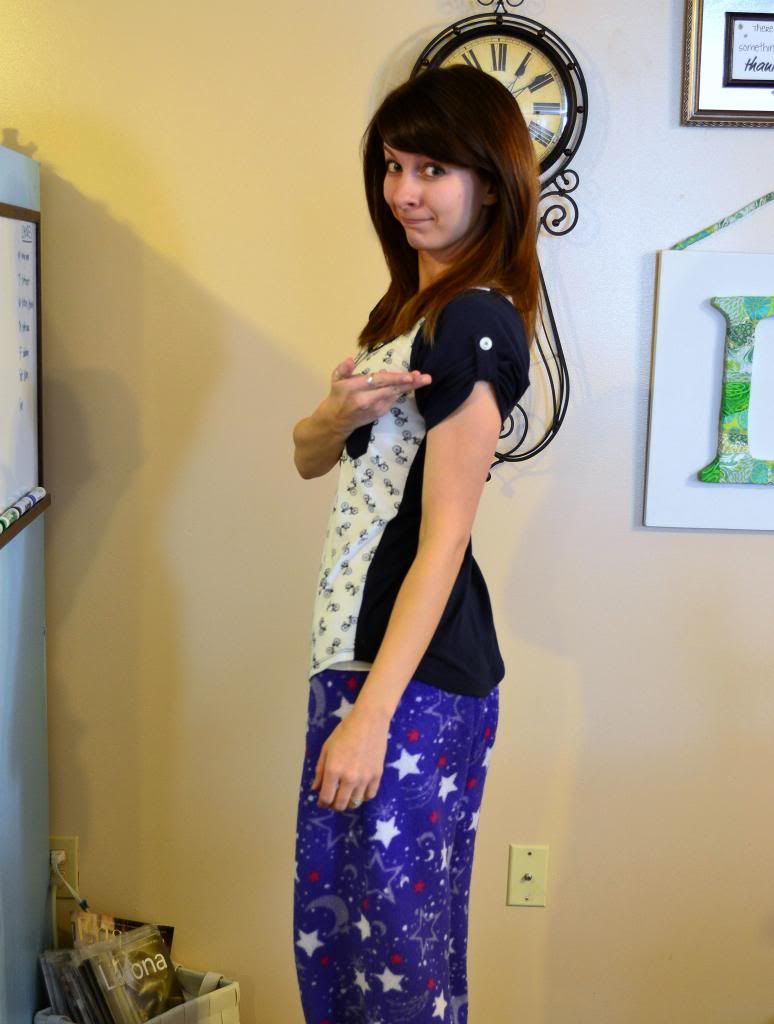
Pair your cute spring pencil skirt with something bright and fun, like blue stripes and a DIY scarf {i ended up sewing the ends of mine together to make an infinity scarf}.


Enjoy the stretchy, comfy fabric, the cuteness, and hopefully the warm weather!


Wednesday, February 27, 2013

Sewing is Messy


Sometimes, my husband comes home to this all over the living room.

Because, you know, I require a lot of space to be creative.


Monday, February 25, 2013

DIY Men's Pocket Tee Refashion


Refashioning men's tee's is one of my favorite things to try. Admittedly, sometimes it doesn't always work out.


But this one did!


To start, I bought this men's shirt for $5 because I loved the color!


And for $5, even a refashion fail wasn't that bad.

I began by taking in the sides to fit.

Then, I unpicked the pocket and used it to cut a new pocket out of different fabric.


Then, because I hate hemming sleeves, I decided to ruche them instead.


Then, I cut and sewed a new, rounded hem at the bottom. 


Ta-da!


Wednesday, February 13, 2013

Love Week: DIY

I LOVE DIY.

I don't know that much more needs to be said.


I love DIY dishtowels.


I love DIY maxi-skirts.


I love DIY refashioning.


I love DIY gifts...and DIY decor.


The DIY possibilities are endless!


I've redone end tables, re-purposed an old sweater, repainted thrift store frames, and refashioned everything from new knit fabric to oversized old tees.


DIY is FUN.


You really ought to try it sometime. As my husband always reminds me, the worst case scenario is that you might have to DIY again. 


Saturday, February 2, 2013

Adding Sleeves to a Tank Top

I was having a rather bad day yesterday, and when I have bad days....I become a {secret} spending addict.

No judging.


So ahem, yesterday was a bad day, and I ended up buying this top:


Because how could tiny bikes not make me feel better?!

It made me think of summer, which was both good and bad. Good because, well...DUH. It's SUMMER. And bad because summer is hot, and I don't like wearing a lot of layers. And because I'm LDS {check it out} I wear sleeves. And I really didn't want to cover up this cute tank with a cardigan {plus....hot.} So I decided to make sleeves.

Easier said than done. I searched madly all over the web and Pinterest for a tutorial on how to add sleeves to a tank top. There are a few out there: Cut off the sleeves from an old tee and sew them to the tank, or add long flutter-y sleeves also made from an old tee. Bleh. Nothing was what I wanted. 


And thus this tutorial was born. 

You need:

Matching fabric & coordinating thread
tank top
buttons {optional}


1. Fold your fabric in half. Measure from the top of your tank top to the bottom of the arm hole--this is how wide {top to bottom} your new sleeves should measure. Use another tee that you like the sleeves of to measure the length {shoulder to elbow}. Cut them out with seam allowance.


2. Cut out the "J" shape where the sleeve will attach to the tank top {forgot to take pics of this part}.


3. Sew the sleeve to the tank, right sides together. Then, sew down the length to close the sleeve {you could do this vice versa, but it worked better for me this way}.


4. Hem your sleeves to the desired length.

5. Attach button and strap if you want the gathered look.


And there you go, it's that easy. 


P.S. Don't judge me for my lack of real pants. 


Wednesday, December 5, 2012

DIY Leg Warmers

Okay, this idea has been all over Pinterest, but it really only just clicked with me. 

You can take an old sweater, cut off the sleeves, and turn them into leg warmers! 


And guess what? THEY ACTUALLY KEEP YOUR LEGS WARM.

Who knew??! 


Just cut the sleeves to the length you want, take them in to fit, and then hem!


Now, my legs are deliciously warm ALL the time. 

Amazing! 


Friday, November 2, 2012

DIY Maxi Skirt Madness

Am I a maxi-skirt-making fiend?


Yes. Yes I am. This is the THIRD maxi skirt I've made, and I love them all!

And per usual, I got so impatient excited that I didn't think to take any pictures of how I made it. But I'll describe it as best I can.

Supplies: 

2 1/3 yards knit fabric
matching thread

First, measure where you want the skirt to sit on your waist. I like mine to sit higher, so I measured my natural waist {just above my belly button}. Then, trace out two giant triangles on your fabric. They should look kinda like this {but nicer} {and straighter}.


The shorter line on top is the length of your waist measurement PLUS seam allowance. Widening the skirt at the bottom will create some nice draping once its all sewn together. I think I even made mine flare out more than the picture. Make sure the skirt is long enough for the shoes you want to wear with it {i always wear mine with heels, so my skirt length is pretty long}.

Next, sew your two pieces together. 

This is intense, I know. 

Now onto the waistband of your maxi skirt. I wanted to ruche mine, so I cut out two rectangles that were the length of the top of my skirt {my waist measurement plus seam allowance}, and about 7 inches wide. If you don't want to ruche yours, make them 3 or 4 inches wide, whatever your preference is.


Then, sew the two rectangles together to form a loop. Hem the top using a stretch stitch or elastic thread. 


Iron in the bottom hem and pin to your skirt. Sew using a stretch stitch or elastic thread, hemming and attaching the waistband simultaneously. 


Lastly, if you wanted a ruched waistband, sew down the side seams of the waistband using elastic thread in your bobbin. This should give you a nice gathered look.

Woo-hoo! You're done! 

DIY maxis are my favorite. They're comfortable, easy, and comfortable. 
{it counts twice.}


Friday, September 14, 2012

Peasant Top Refashion

I have a disease. It's called "BWITA." 


For those of you unfamiliar with it, it stands for: 

BUYING WITH INTENT TO ALTER.
{har har.}


Getting into sewing has really changed the way I look at clothes in the store. Granted, its taken me a while to  learn how to put on my "lets-not-look-at-this-as-it-is-but-think-about-what-i-could-do-with-it" glasses, but I'm getting there.

The other day, I brought home this comfy top-


It was on sale, I liked it, but I didn't love it. BUT. I knew I had the potential to love it.


Its hard to tell in the pictures, but the neckline is REALLY wide. It was a balancing act to just keep it on my shoulders. So first things first, I came up with a way to take it in. 

I put on the shirt and pinned the neckline how much I wanted it taken in.


Then I created a box pleat out of the section I had pinned by flattening it and sewing it down.


The sleeves were next on the list. They were also wide and loose, and sorta made me feel like a bird flapping its wings every time I moved my arms. 

I cut off the lace on the ends of the sleeves and used it to tie a bow.


I turned the raw edges of the sleeves under and gathered them using a basting stitch. I gathered to just wider than the largest part of my arm, so that I could still slip them on and off. I sewed down the gathering using a zig-zag stitch for a little bit of stretch. 

You could also use elastic thread to gather the sleeves, but I seem to have bad luck with it. 


I took the bow I had made from the sleeve lace and pinned it on the neckline, right over my box pleat,{i am loving all the bows this season!} and hand-stitched it down.


Lastly, I took in the sides of the shirt just a tad. 


And voila!


It went from a top that I liked....to a top that I LOVE.


{p.s.-can you tell i'm too lazy to get out my tripod?}

{p.p.s.-i got a haircut. just so you know.}


Saturday, September 8, 2012

Easiest Maxi Skirt You'll Ever Make

I. Love. This. Skirt.


I saw the tutorial over at Cotton and Curls, and I knew instantly that this skirt and I were destined to be together. 

Plus I've had this material for...like.....ever. 

I used a 3" elastic for the waistband, because I knew I wanted something wide enough to belt. But, you could always use something smaller.


Ridiculously easy instructions:

Measure the elastic around your waist where you want it to sit. Sew the ends, right sides together, topstitch them flat. 

Take your 2 yards of material, and cut it into two 1-yard pieces, leaving the width alone. {my fabric was approx. 42" wide, so I had two pieces that were 42" wide by 36" long.}

Sew the two pieces together, on the long sides.

Gather the top to be slightly wider than your hips. {I slipped mine on at this point, just to be sure.}

Match up the middle front, middle back, and two sides of the elastic to the middle front, middle back, and two sides of your fabric. Sew with a zig-zag stitch, right sides together, stretching the elastic as you go.

Oh ps, if you want pictures, check out the tutorial link at the top.

Hem.

I made my hemline shorter in front than in back, because I like it that way.


And it shows off my cute toes.


This skirt is now literally the most comfortable thing I own. {except maybe my slippers.}


Related Posts Plugin for WordPress, Blogger...