Showing posts with label DIY. Show all posts

Tuesday, January 7, 2014

DIY Pendant Lamp

Hello blogging world! 

I am not dead.


And with that intro, let's move on. For Christmas, my husband found this amazing vanity at the D.I. We started redoing it almost immediately, so I didn't quite get a chance to snap a before picture.


Here it is in the process of repainting.


And here it is, finished! BEAUTIFUL.


However, in order to do my makeup, I needed a light source. We had an old pendant lamp from Ikea, but I didn't like the shape of it. Here's what I came up with instead:


To start, you need the basket from a hanging planter, spray paint, a wire crystal garland, and a pendant lamp kit { I think you can find them at home improvement stores}.

First, spray paint your basket. If you like.


Then, take your garland and just haphazardly wrap it around the basket however you like. You could use anything you wanted to wrap the basket- rope, pearls...get creative!


Then, we just zip-tied the light to the top of the basket. 


Amazingly simple.


I can't believe I get to do my makeup & jewelry in front of this!


Wednesday, May 1, 2013

Easy & Adorable DIY Fabric Flowers

A couple weeks ago, I helped put together a baby shower for my sister-in-law. I picked the invitations and decorations, because she was having a little girl. And who doesn't want to decorate for a little girl??

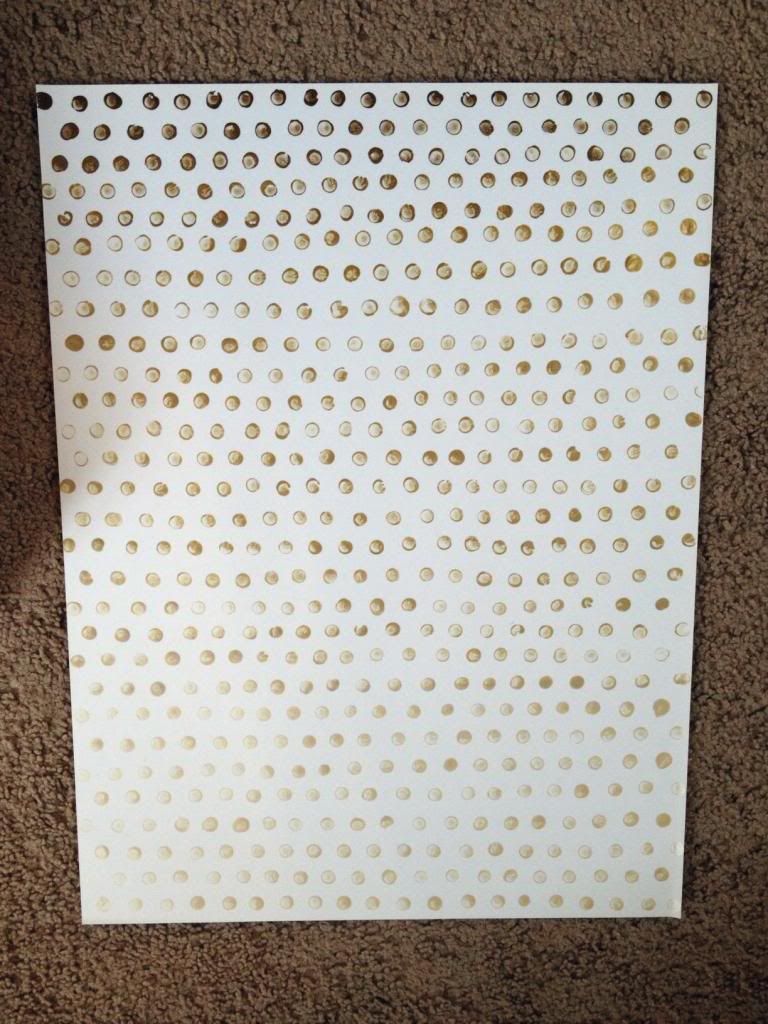
These are the invitations I created:


I was pretty proud. I think they turned out so cute!

For decorations, I needed something simple, but still adorable. After searching pinterest for a couple hours a little bit, I found a really easy fabric flower garland

Here are the instructions:


First, gather up all your extra scraps of fabric, your scissors, and your hot glue gun.


Then, grab something to use as the base for your flowers. I used a combo of some old interfacing and some blue felt. Trace a small circle {smaller than you want your flower} and cut it out.


Be smart like I wasn't, and layer up your fabric from the very beginning to cut out several at once.


Then, layer up your flower fabric and cut out a slightly larger circle.


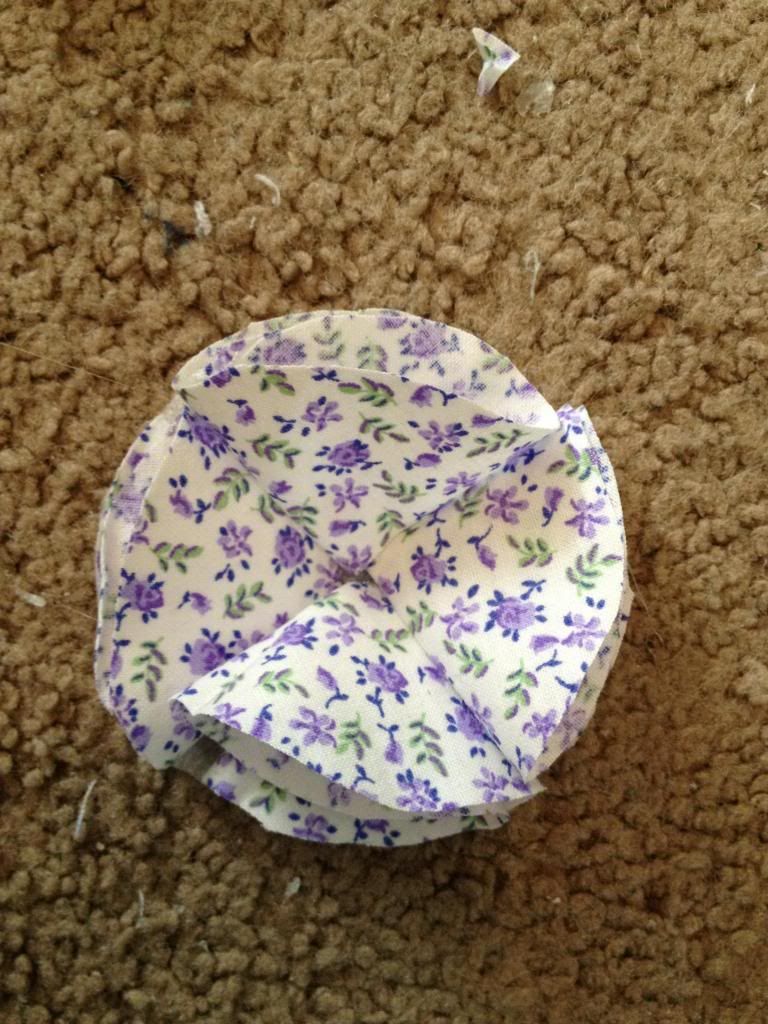
Take one circle and fold it in half, then in half again.


Do this to four circles, then glue them to your base circle like so:


Fold two more circles into quarters. You need a total of six folded circles to make each flower.

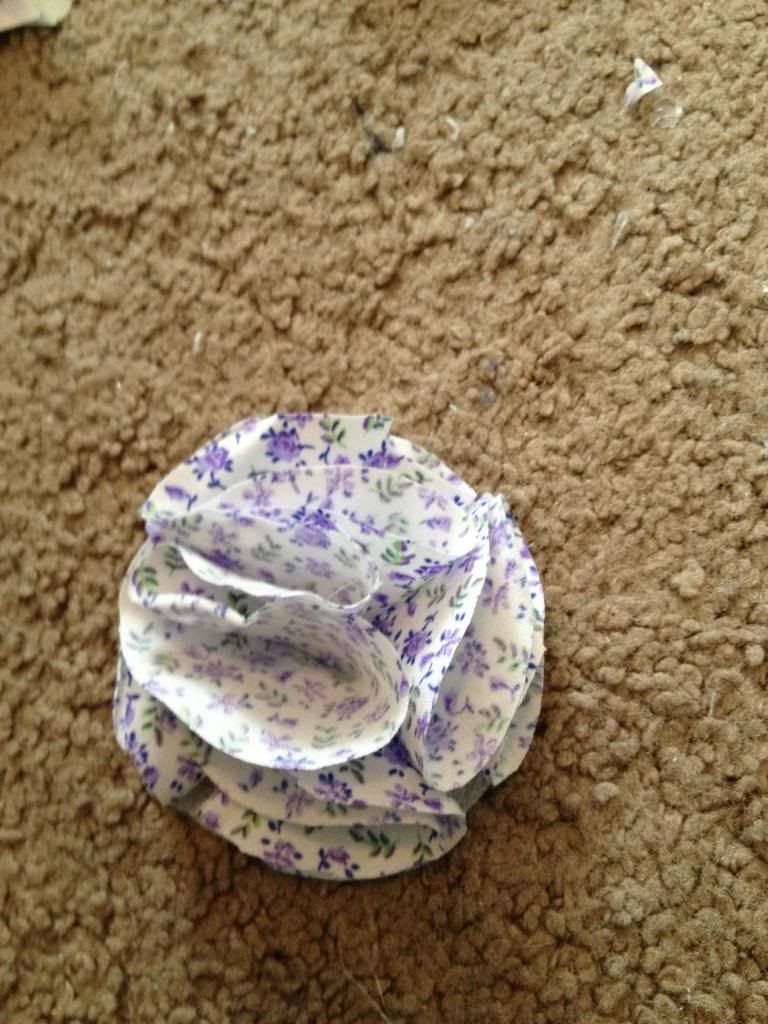
Glue the last two circles right in the very center of your flower.


If you want, you can clip the tips before you glue so they sit a little flatter.


Repeat this process six million times. I recommend having a good tv show {or several} to watch.


I ended up making two different sizes of flowers, along with a fabric-scrap letter. You can find instructions on how to make one yourself here.


If you are making a garland with your flowers, simply hot glue them to a piece of twine or string. I used twine, and used big lace bows to string it up. I can't believe I forgot to get a picture, but there you go. 


Here are a couple pictures of the table:


I thought the flowers were a cute little touch. And, if the other little children at the shower don't try to eat them, you can re-use them. {maybe some DIY hair clips or headbands!}


I would love to try my hand at making some different styles of fabric flowers, maybe to use as home decor. Or maybe just for fun because they are so pretty.

Just look how gorgeous!


{you can find all these on my pinterest account.}


Thursday, April 4, 2013

DIY Spring Pencil Skirt


Springtime = bright colors! I love it!

Materials Needed

1 yard knit fabric
matching thread
fabric paint
elastic {for the waistband}


Go To It

First, fold your fabric so that it's doubled up. Then, grab a pencil skirt you like the shape of and lay it out on your fabric. Trace around your skirt, leaving about 1/4 to 1/2 an inch for seam allowance.


Take the width of your elastic {mine was 2"} and times it by two {4" for me}. Make the top of your outline a rectangle:  the length of your waist measurement  x your elastic times 2 {length x width}.

Your outline will look something like this:
See how the top of the outline is squared? That's so that when you fold the elastic down you'll get a nice, clean fold.


Next, cut out your two pieces. Sew them together using the seam allowance you provided.


Cut the elastic to fit your waist / the top of your skirt. Sew together to two ends of your elastic to form a circle. With the skirt inside-out, sew the elastic to the top of your skirt using a zig-zag stitch.


{like my pictures?}


Next, turn the skirt right-side out. Fold the elastic down inside the skirt twice so that it's covered, and use a stretch stitch to sew it down.

Hem the bottom also using a stretch stitch {so the hem will allow stretching as you walk}, and you're done with the sewing part!


For the painted flowers {or painted whatever-you-want}, lay the skirt out flat and place a piece of cardboard underneath the front layer. 

Using a fabric pen or fabric chalk {something that will wash out}, draw your design. Then, use a small paintbrush to slowly and carefully paint over your drawing. You could also make a freezer-paper stencil.

DONE.


Pair your cute spring pencil skirt with something bright and fun, like blue stripes and a DIY scarf {i ended up sewing the ends of mine together to make an infinity scarf}.


Enjoy the stretchy, comfy fabric, the cuteness, and hopefully the warm weather!


Tuesday, March 5, 2013

DIY Floral Stamped Jeans


See this picture? I found it browsing the magazines at my hairstylist's house. And the MOMENT I saw it I knew I had to try a DIY {i just knew it}.

So here's my DIY version of these floral-stamped jeans:


First, you need {and here's the surprise} a pair of jeans. And also, fabric paint.


As for a stamp, you can LITERALLY use anything. Anything. I ended up using some crocheted flowers I found at Joann's and a smaller flower I cut out of cardboard.


I hot-glued some cardboard to the backs to make them easier to stamp. Then, just dip them into your paint and start stamping! {i used an old pair of scrap jeans to practice on.}


Whaddya think?


Monday, February 25, 2013

DIY Men's Pocket Tee Refashion


Refashioning men's tee's is one of my favorite things to try. Admittedly, sometimes it doesn't always work out.


But this one did!


To start, I bought this men's shirt for $5 because I loved the color!


And for $5, even a refashion fail wasn't that bad.

I began by taking in the sides to fit.

Then, I unpicked the pocket and used it to cut a new pocket out of different fabric.


Then, because I hate hemming sleeves, I decided to ruche them instead.


Then, I cut and sewed a new, rounded hem at the bottom. 


Ta-da!


Wednesday, February 20, 2013

DIY Polka Dot Art


DIY art is my favorite. It means no one else has the same piece, and you get to personalize the crap out of it! 


This is a fun DIY project I saw over on a blog called Cinsarah. All you need is a pencil, some paint, and you're set!

Dip the pencil eraser in the paint and dot away.


I used two colors of paint to create an ombré effect.


You could very easily just stop here, mat and frame your piece, and be finished!

However, I didn't have a mat and the piece looked somewhat unfinished, so I decided to add something more.


I love this quote!


...and birds.


Happy DIYing!


Related Posts Plugin for WordPress, Blogger...