Showing posts with label crafts. Show all posts

Tuesday, January 7, 2014

DIY Pendant Lamp

Hello blogging world! 

I am not dead.


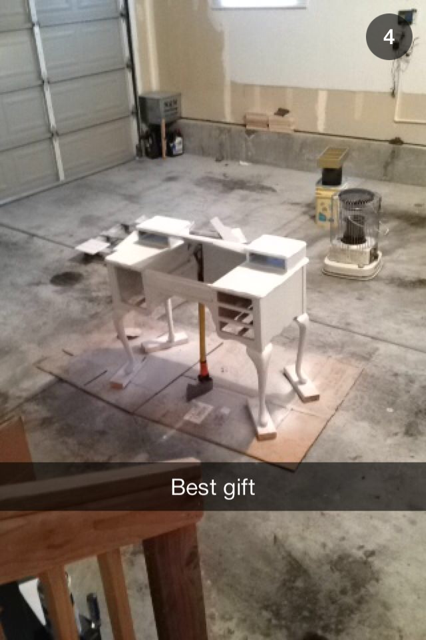
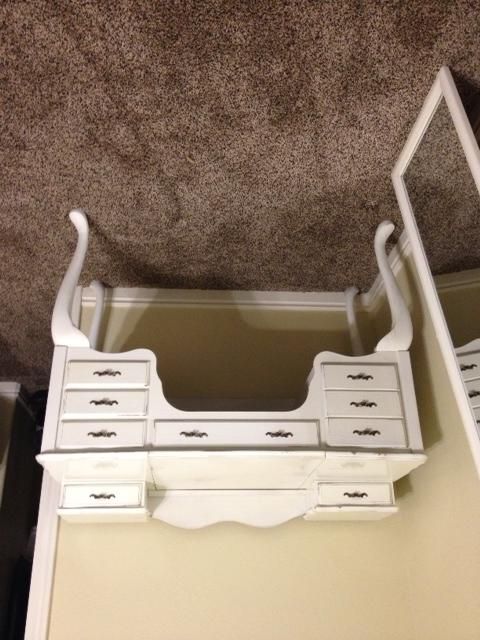
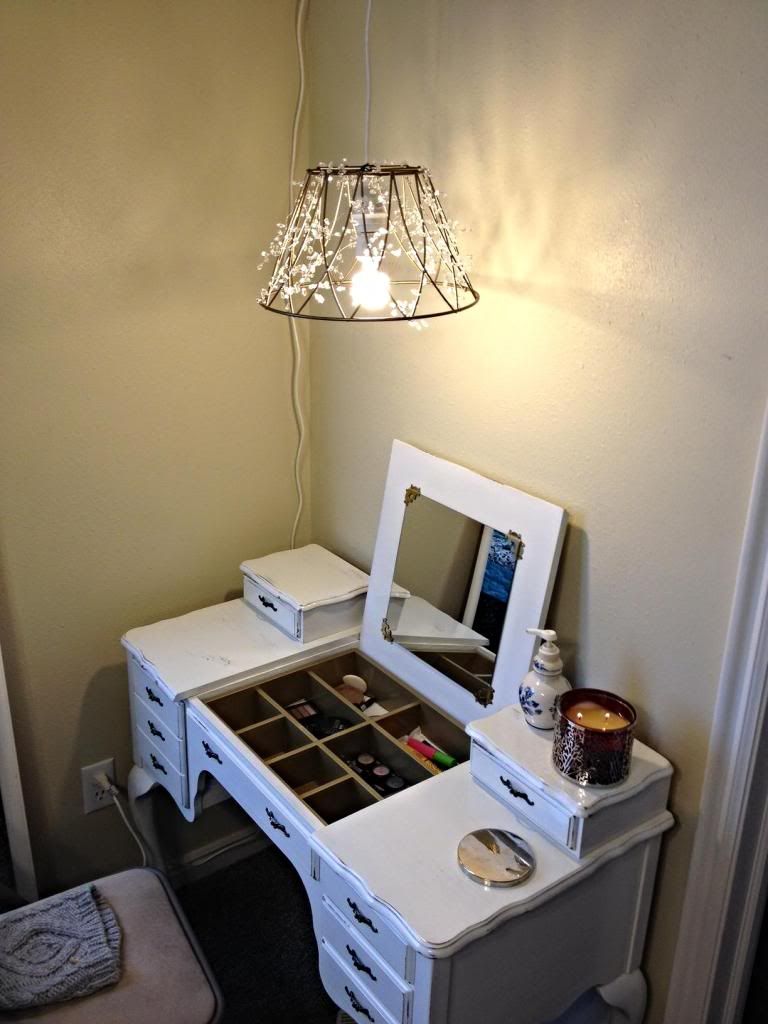
And with that intro, let's move on. For Christmas, my husband found this amazing vanity at the D.I. We started redoing it almost immediately, so I didn't quite get a chance to snap a before picture.


Here it is in the process of repainting.


And here it is, finished! BEAUTIFUL.


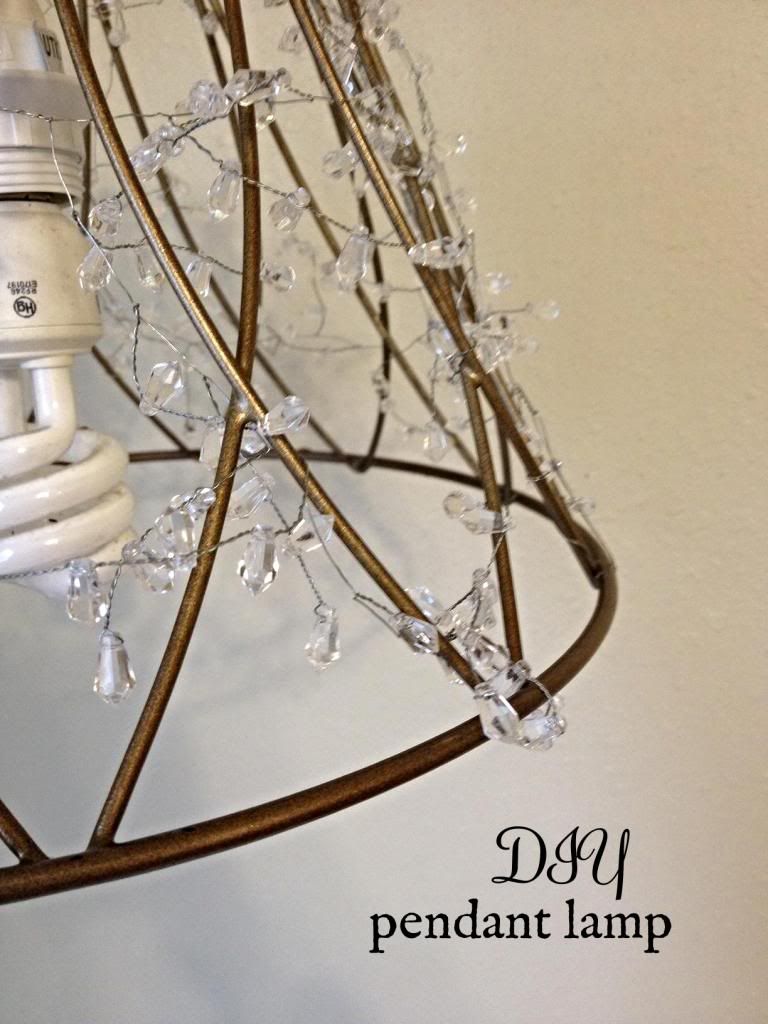
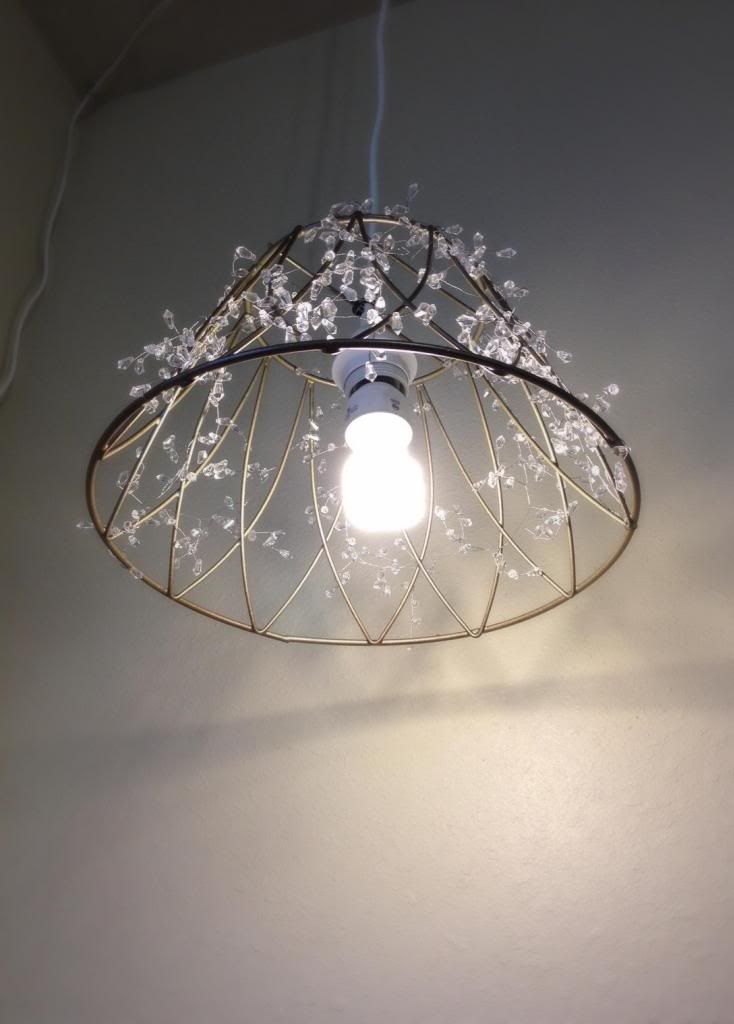
However, in order to do my makeup, I needed a light source. We had an old pendant lamp from Ikea, but I didn't like the shape of it. Here's what I came up with instead:


To start, you need the basket from a hanging planter, spray paint, a wire crystal garland, and a pendant lamp kit { I think you can find them at home improvement stores}.

First, spray paint your basket. If you like.


Then, take your garland and just haphazardly wrap it around the basket however you like. You could use anything you wanted to wrap the basket- rope, pearls...get creative!


Then, we just zip-tied the light to the top of the basket. 


Amazingly simple.


I can't believe I get to do my makeup & jewelry in front of this!


Wednesday, May 1, 2013

Easy & Adorable DIY Fabric Flowers

A couple weeks ago, I helped put together a baby shower for my sister-in-law. I picked the invitations and decorations, because she was having a little girl. And who doesn't want to decorate for a little girl??

These are the invitations I created:


I was pretty proud. I think they turned out so cute!

For decorations, I needed something simple, but still adorable. After searching pinterest for a couple hours a little bit, I found a really easy fabric flower garland

Here are the instructions:


First, gather up all your extra scraps of fabric, your scissors, and your hot glue gun.


Then, grab something to use as the base for your flowers. I used a combo of some old interfacing and some blue felt. Trace a small circle {smaller than you want your flower} and cut it out.


Be smart like I wasn't, and layer up your fabric from the very beginning to cut out several at once.


Then, layer up your flower fabric and cut out a slightly larger circle.


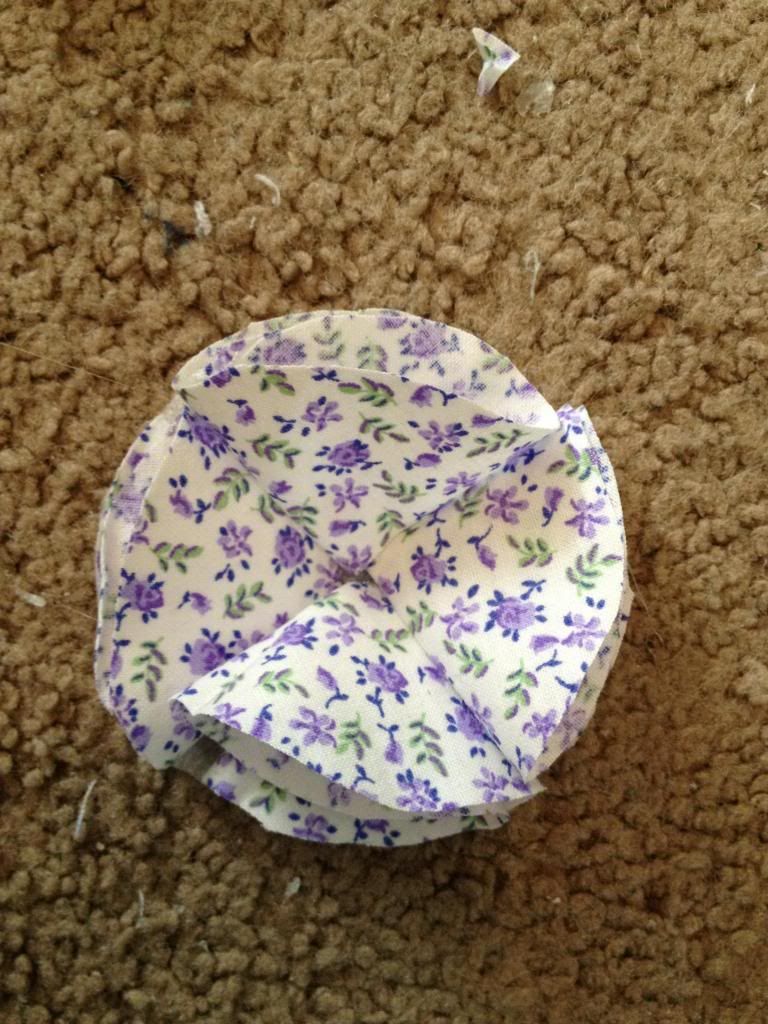
Take one circle and fold it in half, then in half again.


Do this to four circles, then glue them to your base circle like so:


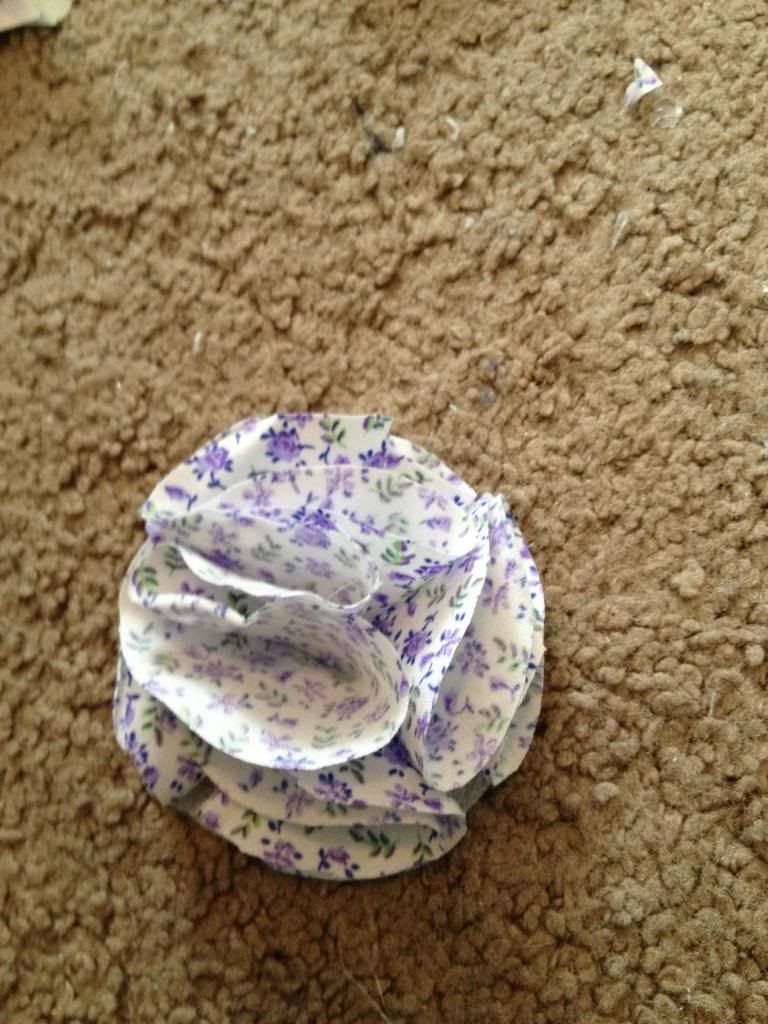
Fold two more circles into quarters. You need a total of six folded circles to make each flower.

Glue the last two circles right in the very center of your flower.


If you want, you can clip the tips before you glue so they sit a little flatter.


Repeat this process six million times. I recommend having a good tv show {or several} to watch.


I ended up making two different sizes of flowers, along with a fabric-scrap letter. You can find instructions on how to make one yourself here.


If you are making a garland with your flowers, simply hot glue them to a piece of twine or string. I used twine, and used big lace bows to string it up. I can't believe I forgot to get a picture, but there you go. 


Here are a couple pictures of the table:


I thought the flowers were a cute little touch. And, if the other little children at the shower don't try to eat them, you can re-use them. {maybe some DIY hair clips or headbands!}


I would love to try my hand at making some different styles of fabric flowers, maybe to use as home decor. Or maybe just for fun because they are so pretty.

Just look how gorgeous!


{you can find all these on my pinterest account.}


Tuesday, March 5, 2013

DIY Floral Stamped Jeans


See this picture? I found it browsing the magazines at my hairstylist's house. And the MOMENT I saw it I knew I had to try a DIY {i just knew it}.

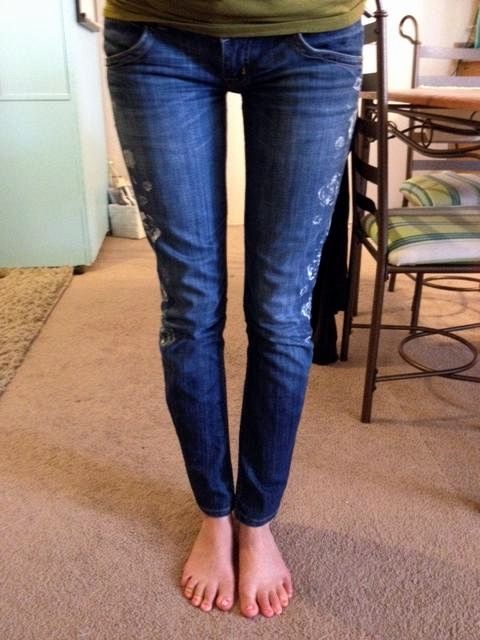
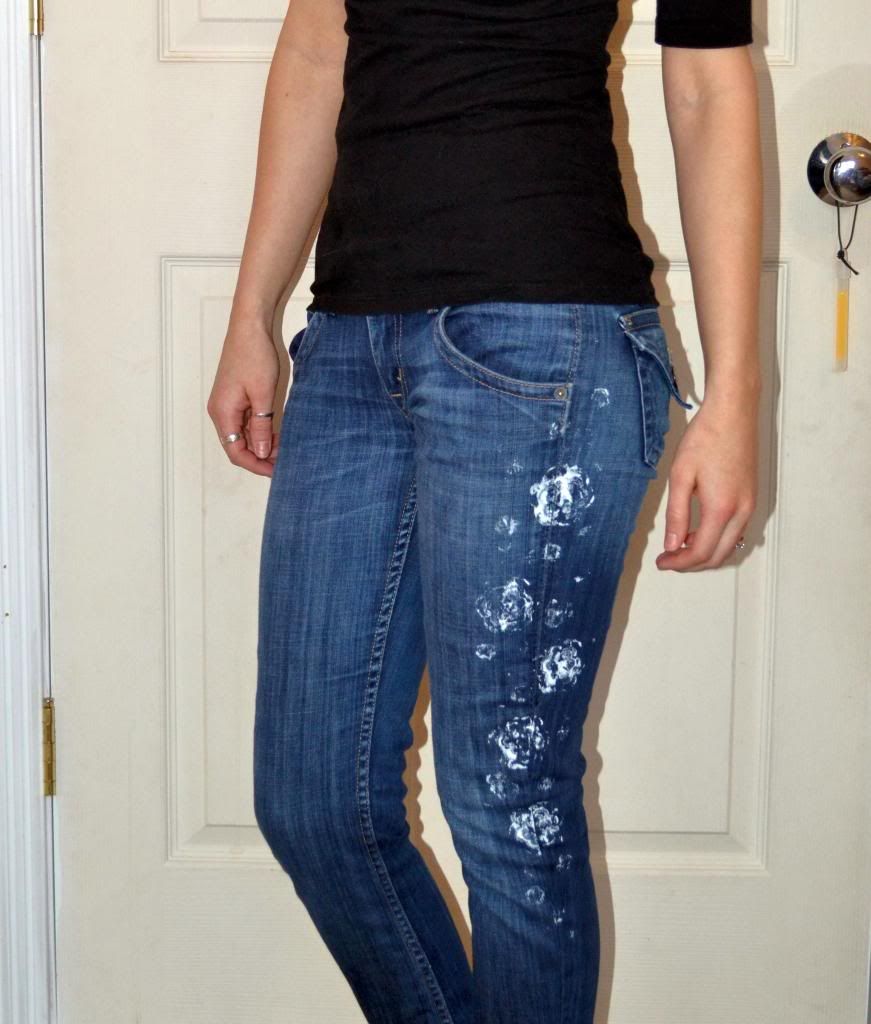
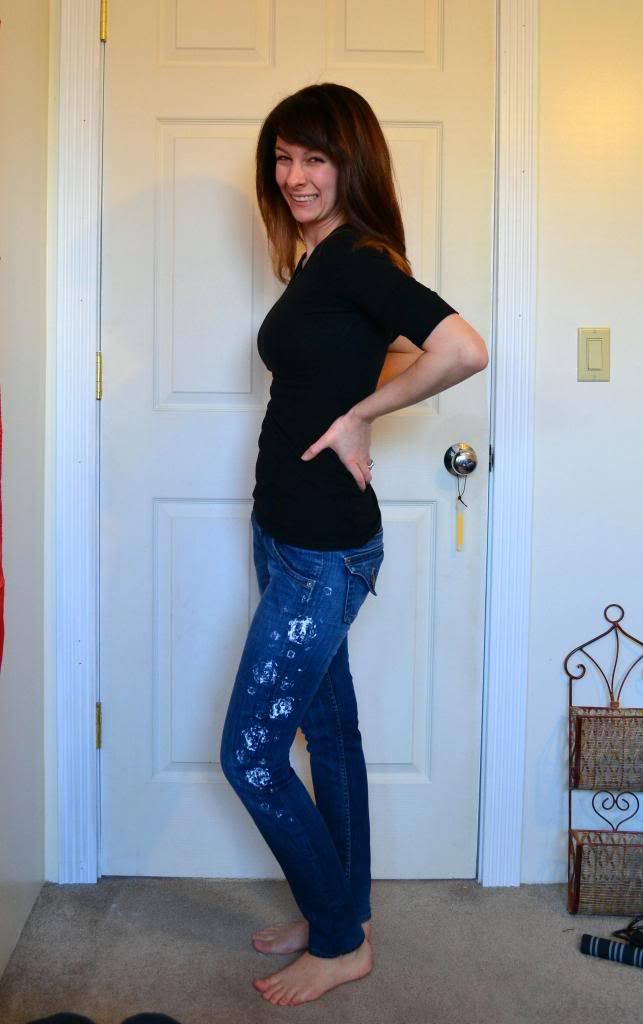
So here's my DIY version of these floral-stamped jeans:


First, you need {and here's the surprise} a pair of jeans. And also, fabric paint.


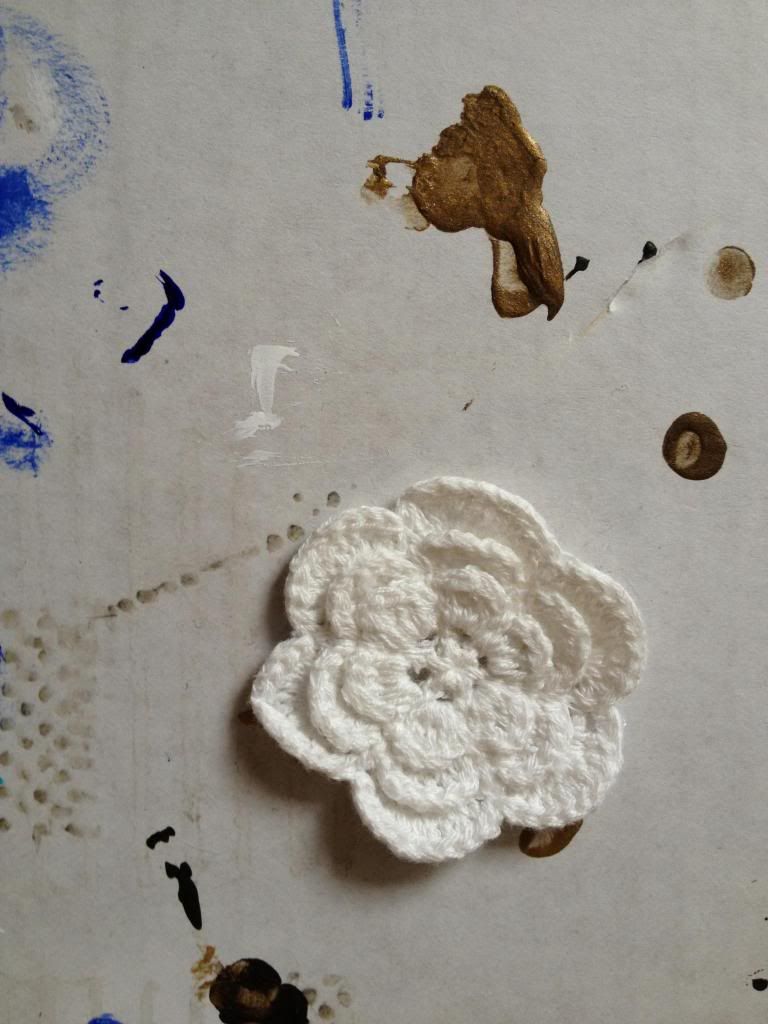
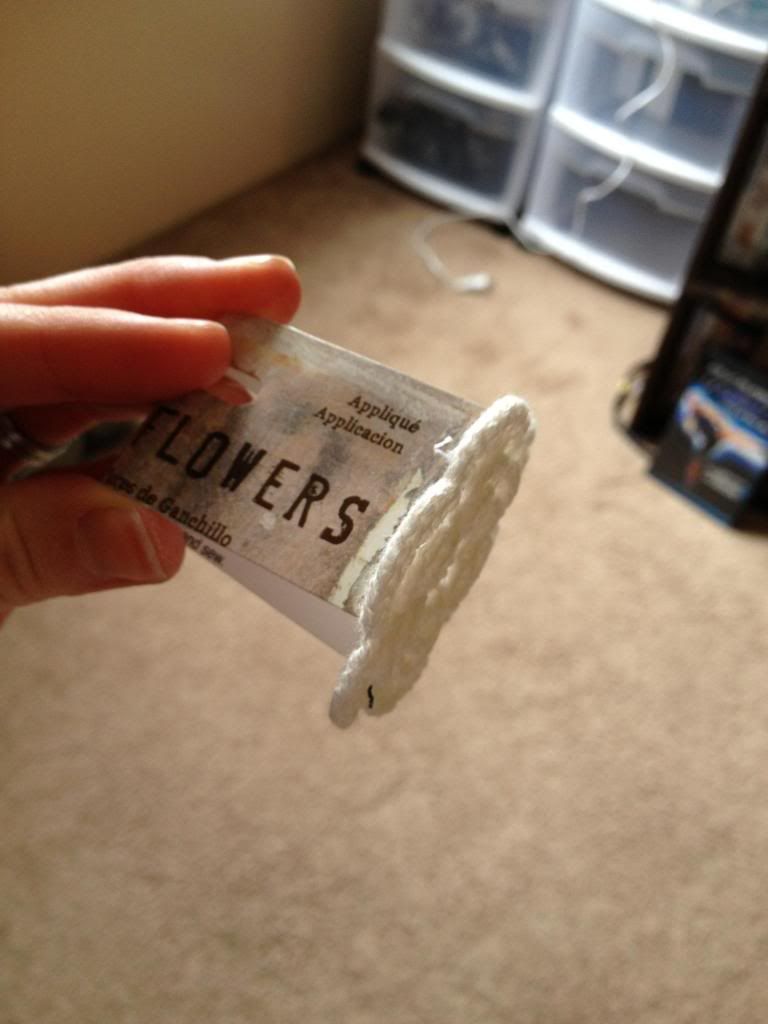
As for a stamp, you can LITERALLY use anything. Anything. I ended up using some crocheted flowers I found at Joann's and a smaller flower I cut out of cardboard.


I hot-glued some cardboard to the backs to make them easier to stamp. Then, just dip them into your paint and start stamping! {i used an old pair of scrap jeans to practice on.}


Whaddya think?


Wednesday, February 20, 2013

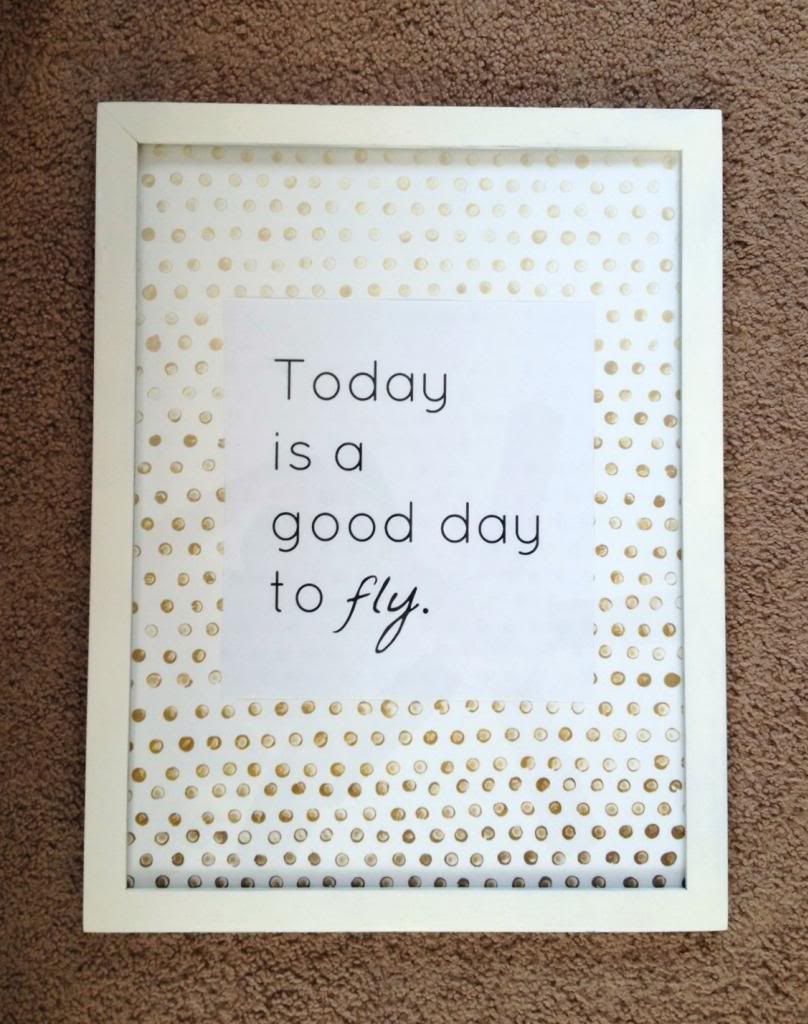
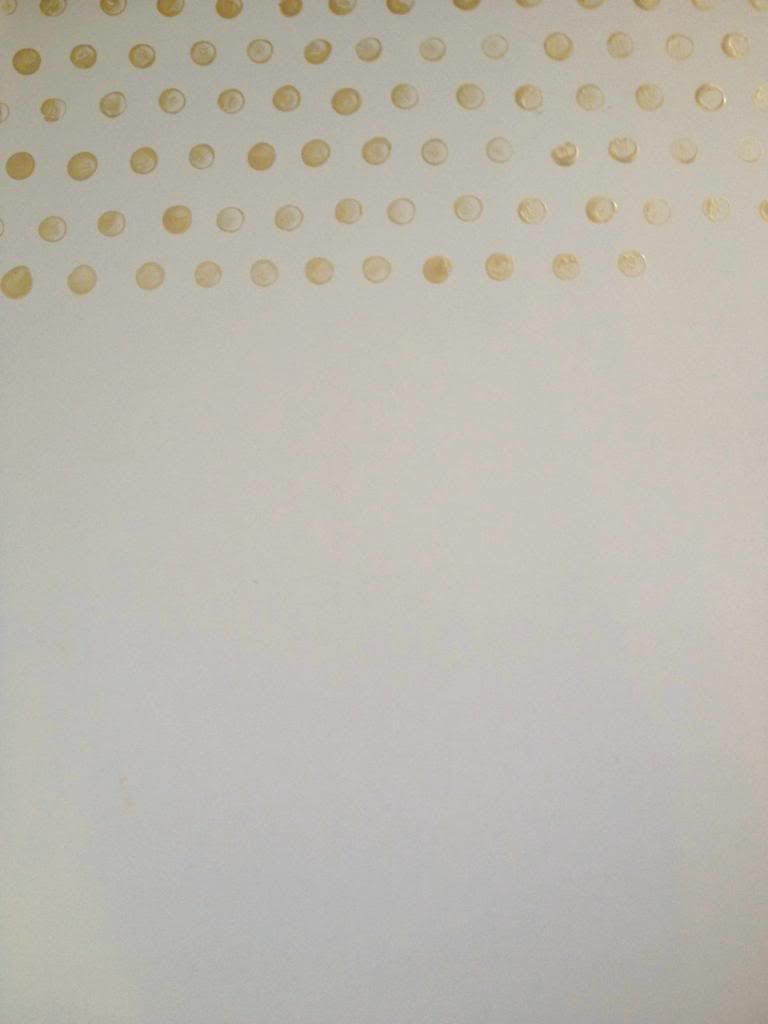
DIY Polka Dot Art


DIY art is my favorite. It means no one else has the same piece, and you get to personalize the crap out of it! 


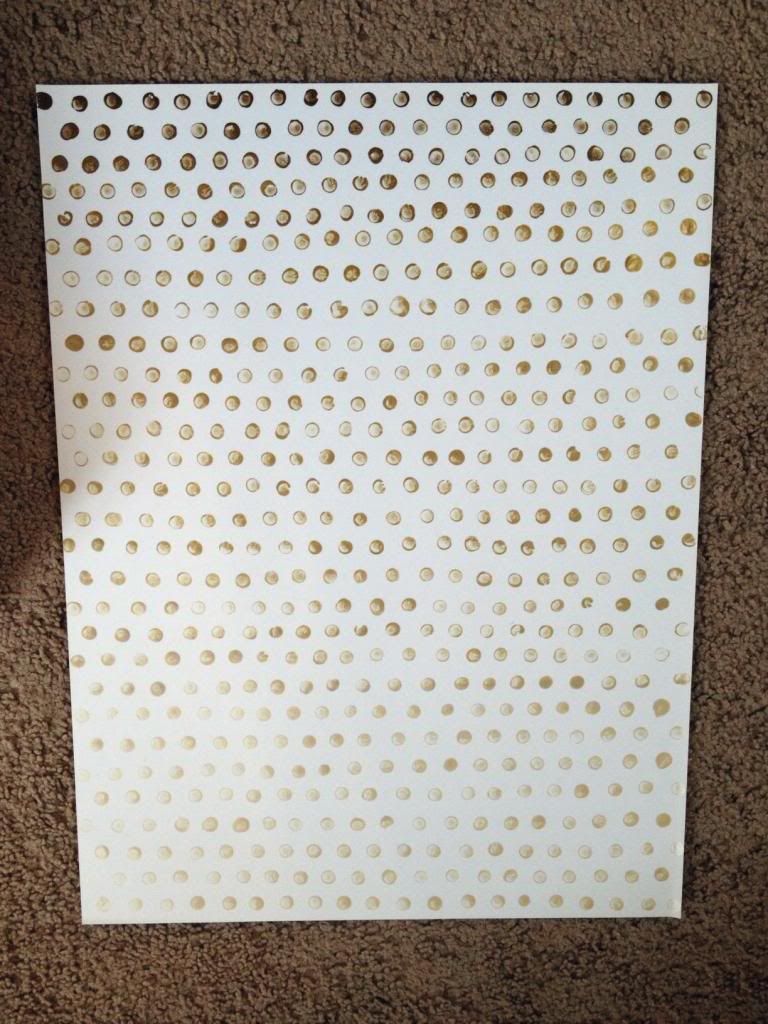
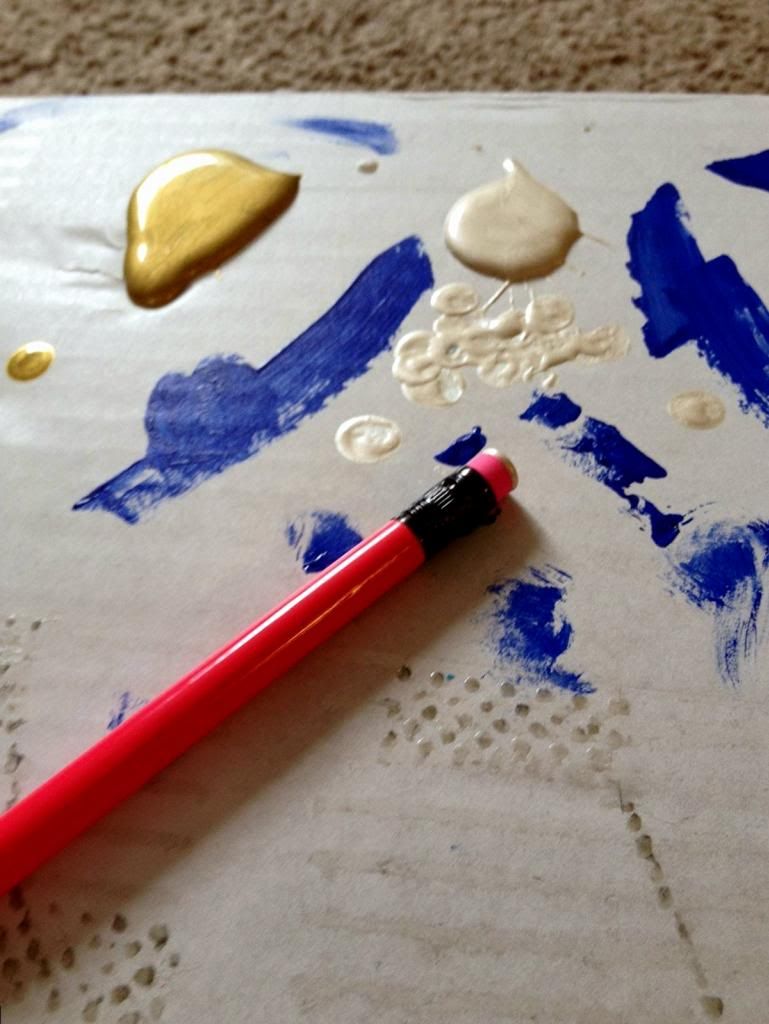
This is a fun DIY project I saw over on a blog called Cinsarah. All you need is a pencil, some paint, and you're set!

Dip the pencil eraser in the paint and dot away.


I used two colors of paint to create an ombré effect.


You could very easily just stop here, mat and frame your piece, and be finished!

However, I didn't have a mat and the piece looked somewhat unfinished, so I decided to add something more.


I love this quote!


...and birds.


Happy DIYing!


Saturday, February 16, 2013

Love Week: Valentine's Finale {2013}


I hope everyone had as fabulous a Valentine's as we did!


 photo IMG_1298_zpsb0f39d6c.jpg


I woke up to these....


 photo IMG_1278_zps0fb8d45c.jpg


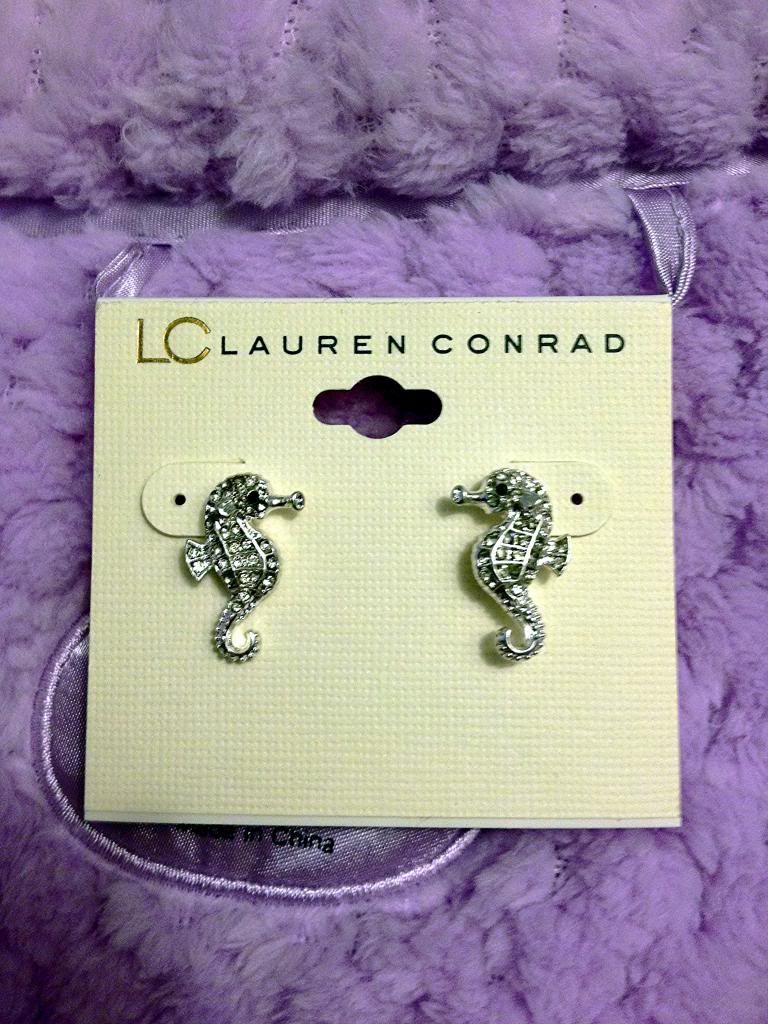
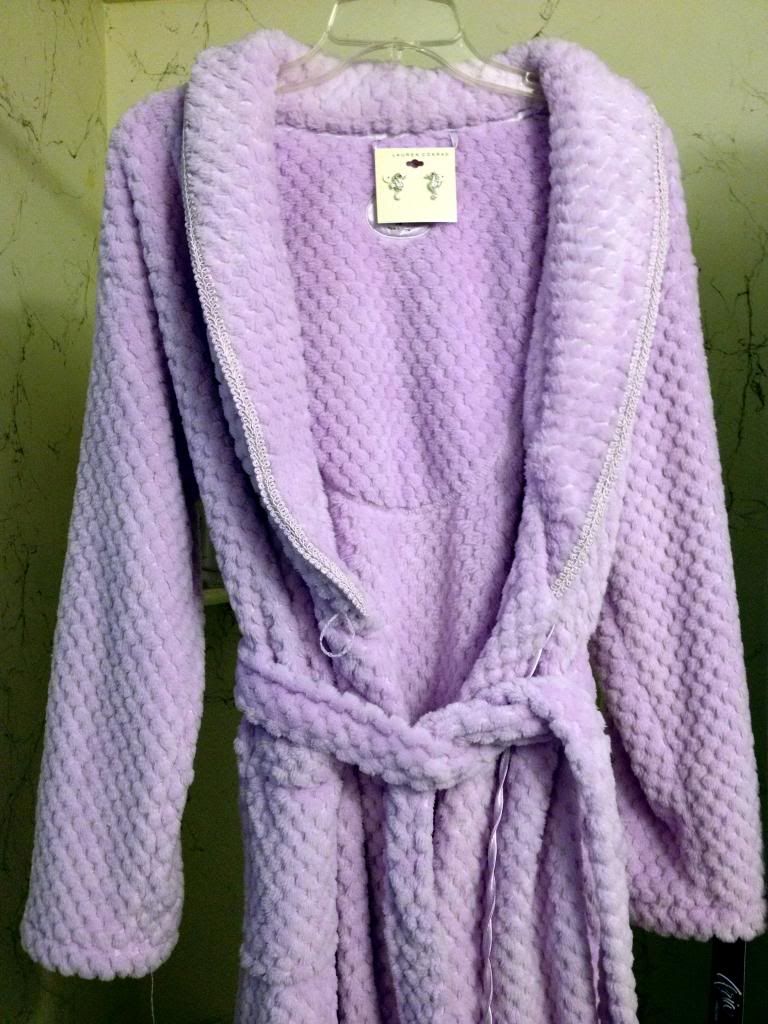
...and this....


He has taken into account both my love for tiny earrings and my love for being warm.

Bonus points!


{tmi?}


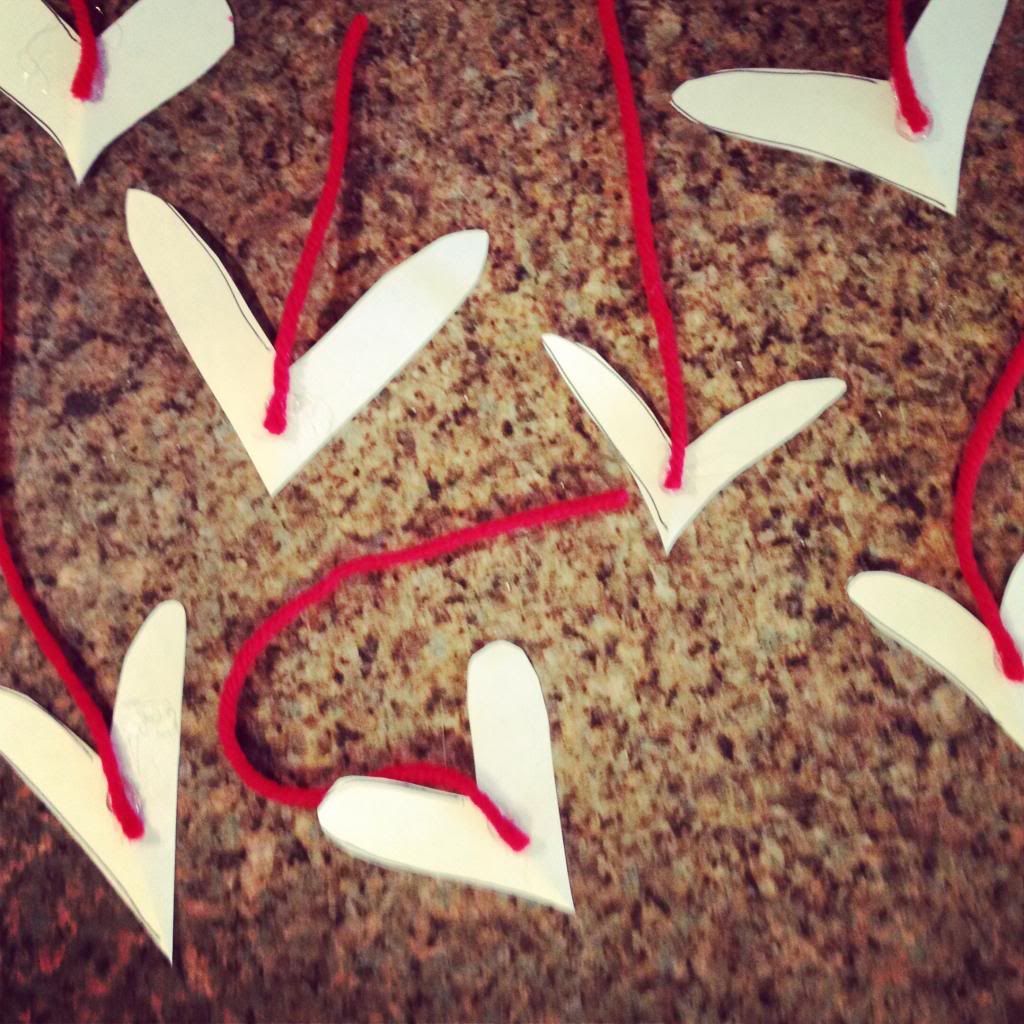
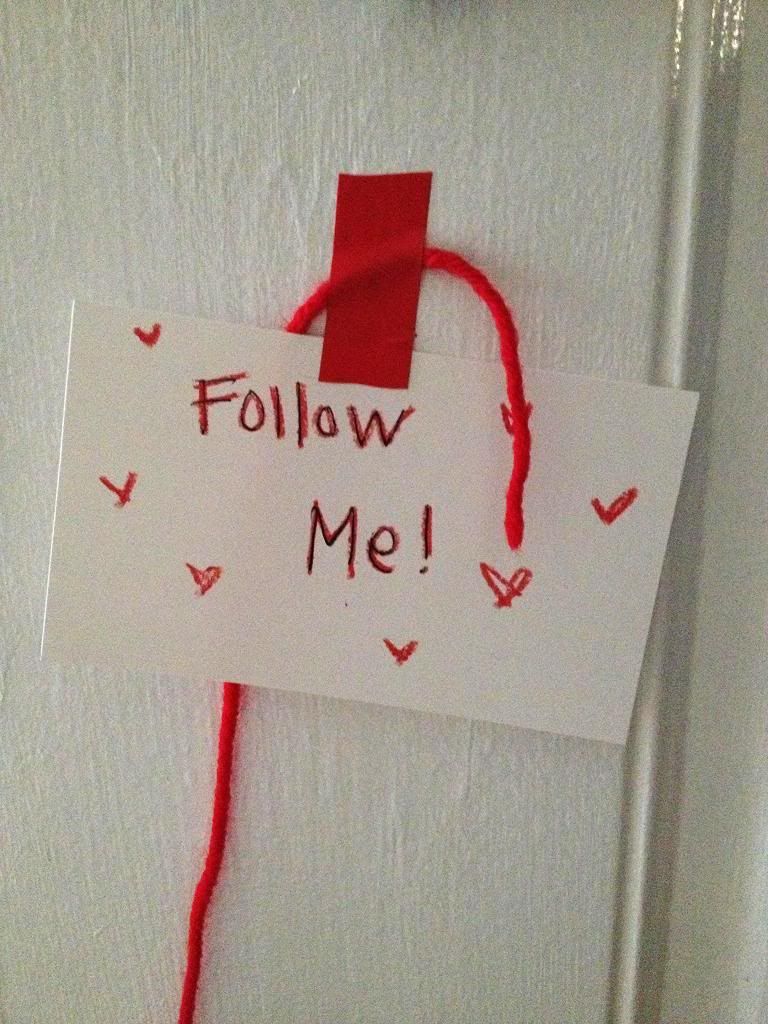
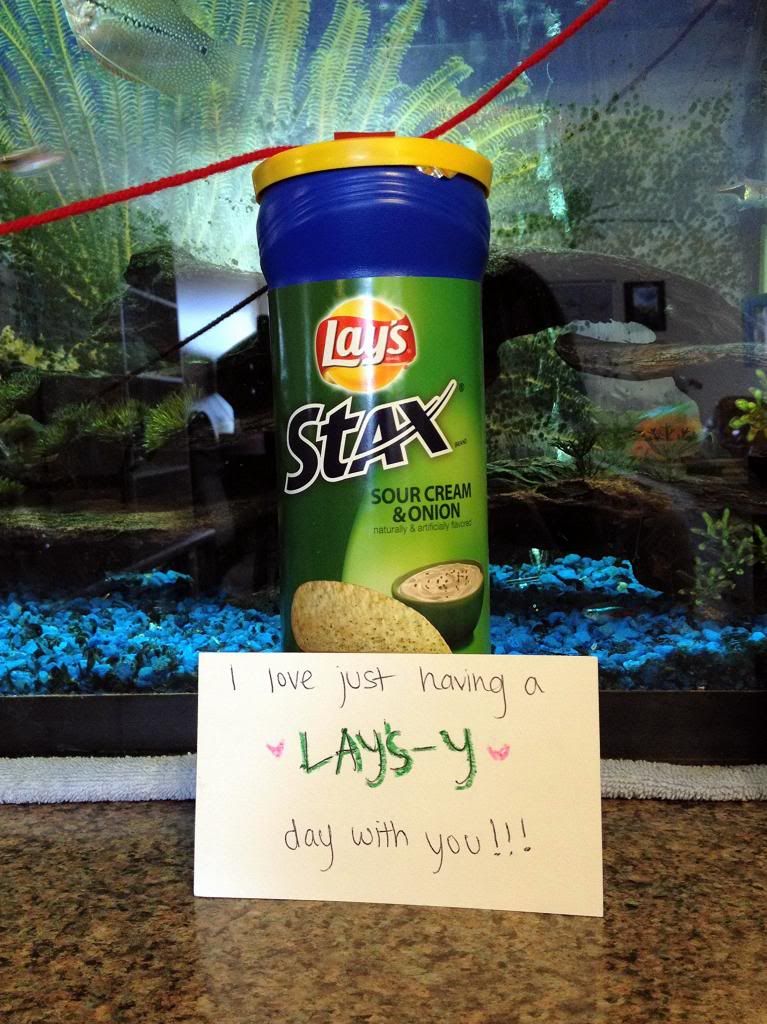
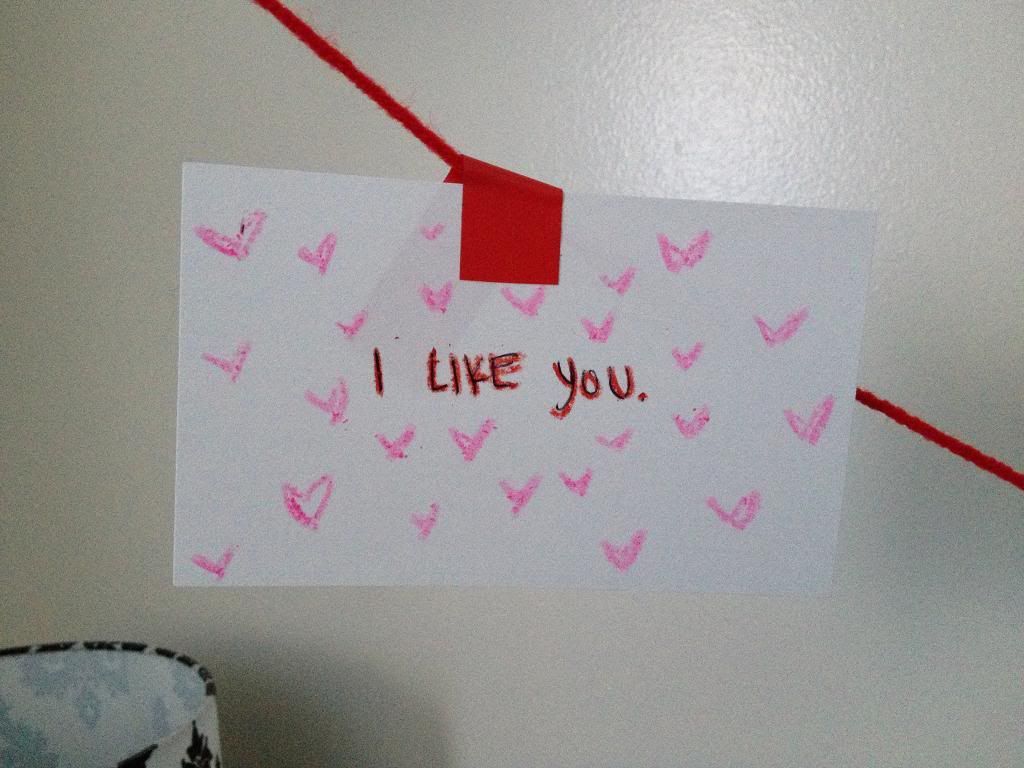
I decided to create a little 'scavenger hunt' for him.


 photo IMG_1281_zpscd437c5c.jpg


And yes, I used crayons. Because I seem to have a surplus of them around the house since becoming a primary teacher.


 photo IMG_1283_zps1912ed98.jpg


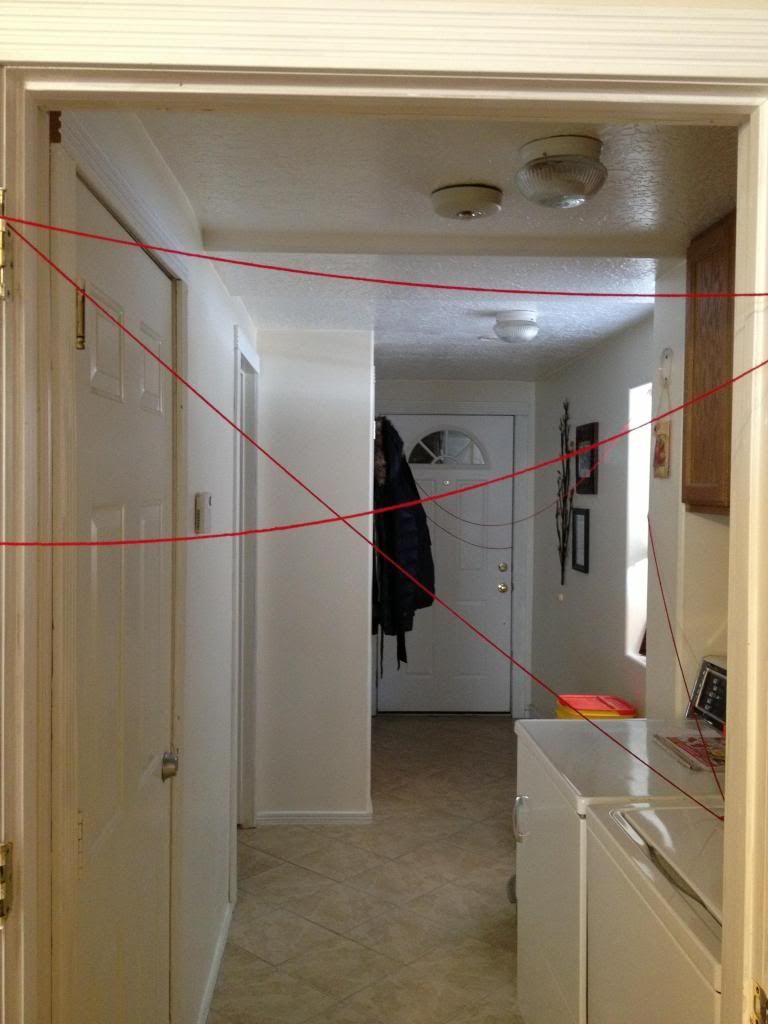
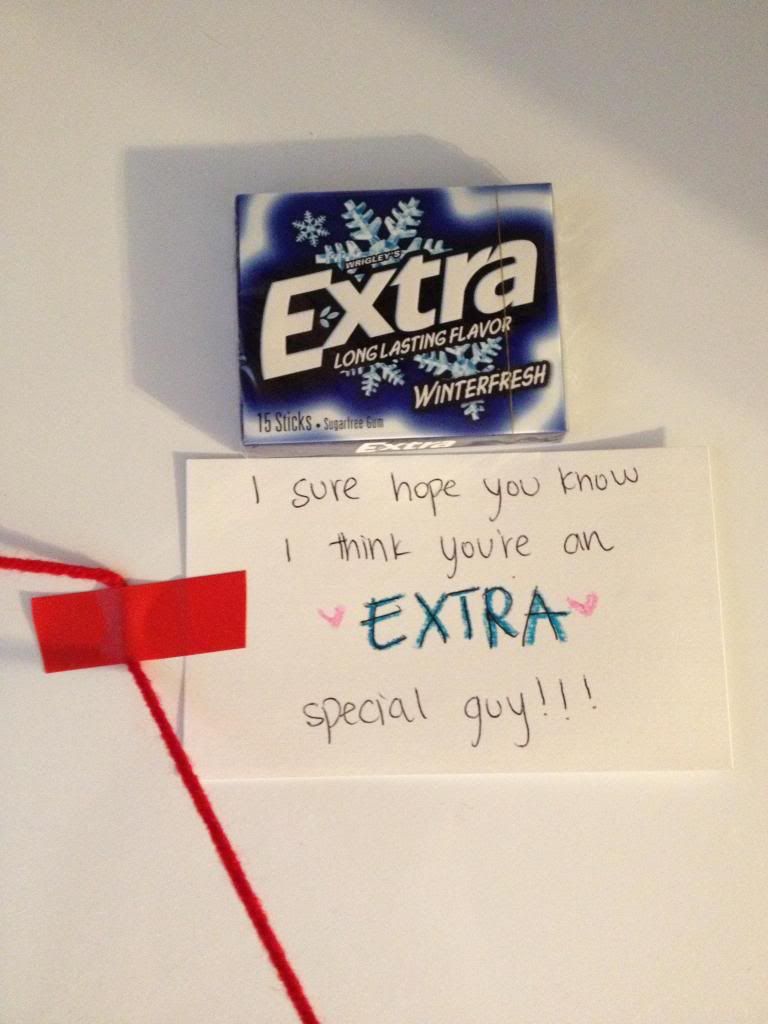
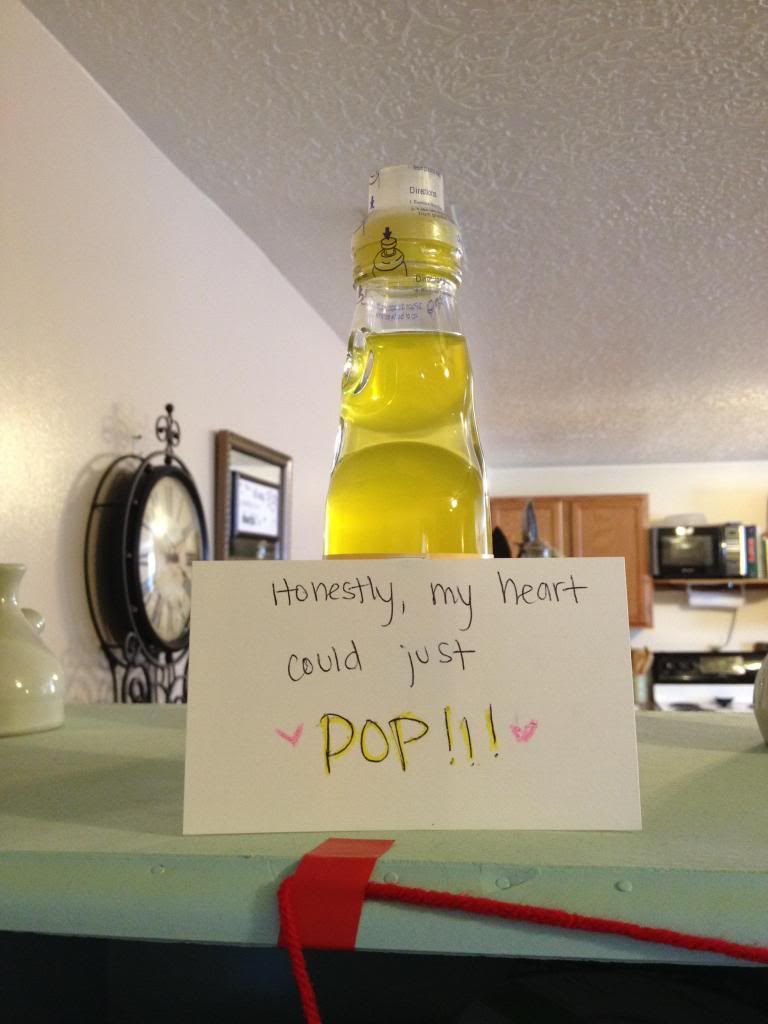
As he followed the yarn, there were a couple little treats along the way.


 photo IMG_1284_zps4929fcc3.jpg


 photo IMG_1286_zpsb2f473d1.jpg


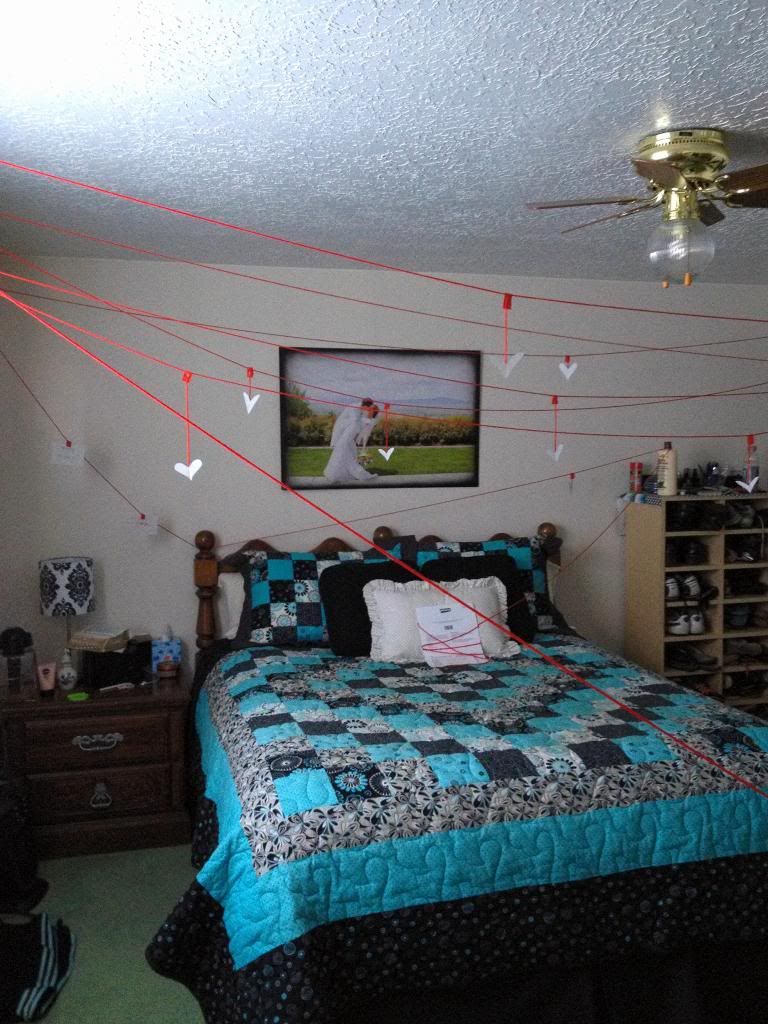
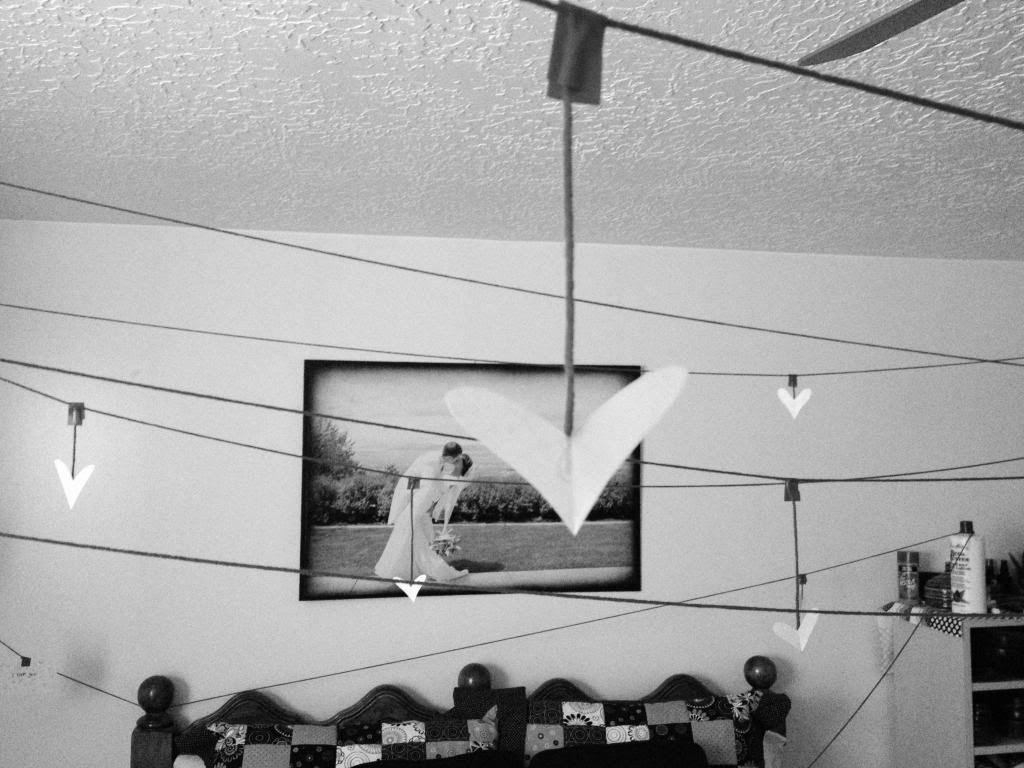
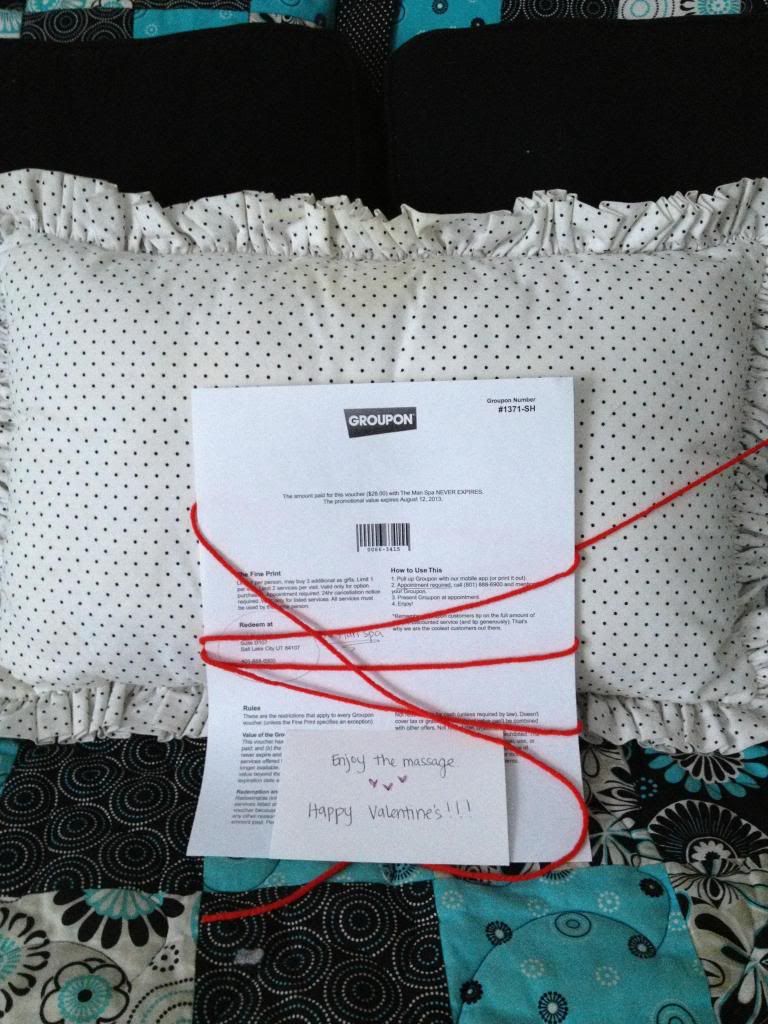
And when he finally got to our room....


 photo IMG_1290_zps856a2487.jpg


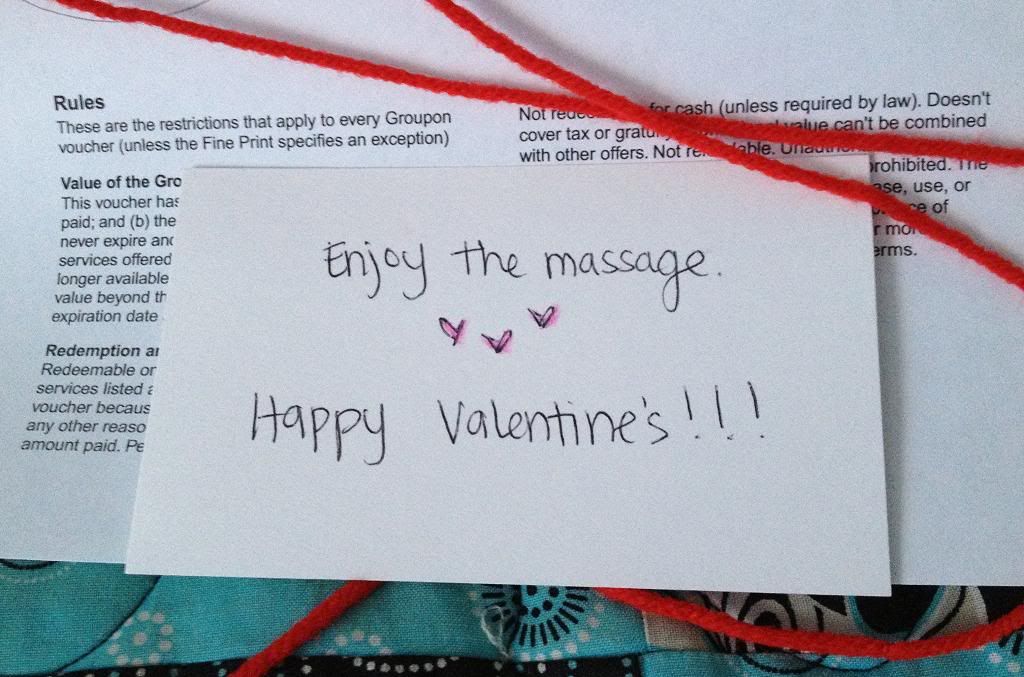
...he found this at the end:


I was pretty proud of myself at this point.

:)


Happy late Valentine's and have yourselves a lovely day!

Related Posts Plugin for WordPress, Blogger...