Showing posts with label happy. Show all posts

Saturday, November 2, 2013

....In the Middle of the Street


Finding out that you are actually finally approved to buy a house is like Christmas morning.


But before that, you have to go through a lot of work. 

We searched for 6 months, with multiple offers, multiple fall-throughs, and a lot of disappointment. The first time we saw this house, though, we got a very good feeling about the home and the neighborhood. So we decided to offer on yet another house, hoping that this would be the one. 

We put in our paperwork...and found out our offer had been accepted! We were a excited, but since we'd had offers go through before we tried not to get too attached. 

I mean, seriously you guys, you have no idea how many random, "this never happens" situations we went through. 

But things continued to go well with this house. It was a newer house, had been redone with new carpet, new paint, and brand-spankin-new appliances, and it had a front porch. As more paperwork was pushed through, it came to the point where we were only waiting on the rural housing committee to approve our loan before everything was finalized. And that took 28 business days, to be exact.

Which is the equivalent of forrrrrrrrrever.

I believe we waited 29 business days before finally finding out.....we were approved! 

Which was a small miracle. 

Remember that one time the government shut down? Well rural housing is a government committee....which means it also shut down. And magically, miraculously, our approval was stamped and signed literally the MORNING BEFORE the shutdown. 

Skin of our teeth, right there. 

And I can tell you now, that I firmly believe this is the place we are meant to be. Because we were blatantly stopped too many other times, and this house came with too many small miracles to believe otherwise. 
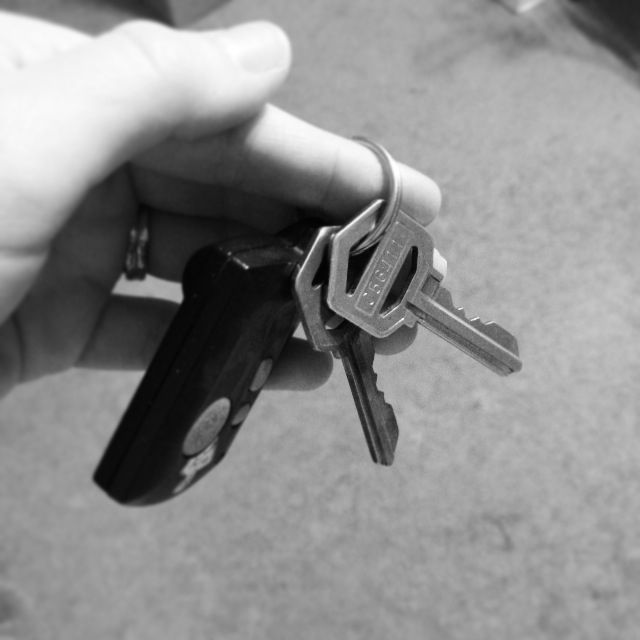


First order of business? Painting the door of course.
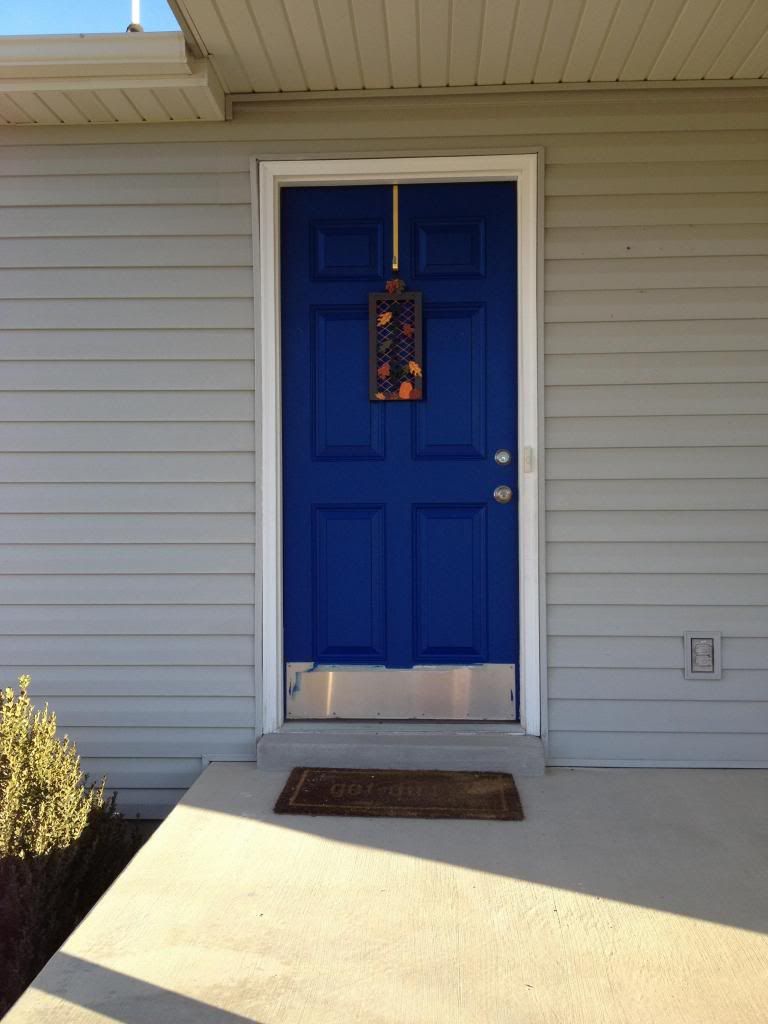


I. LOVE. IT.

And I love our house.
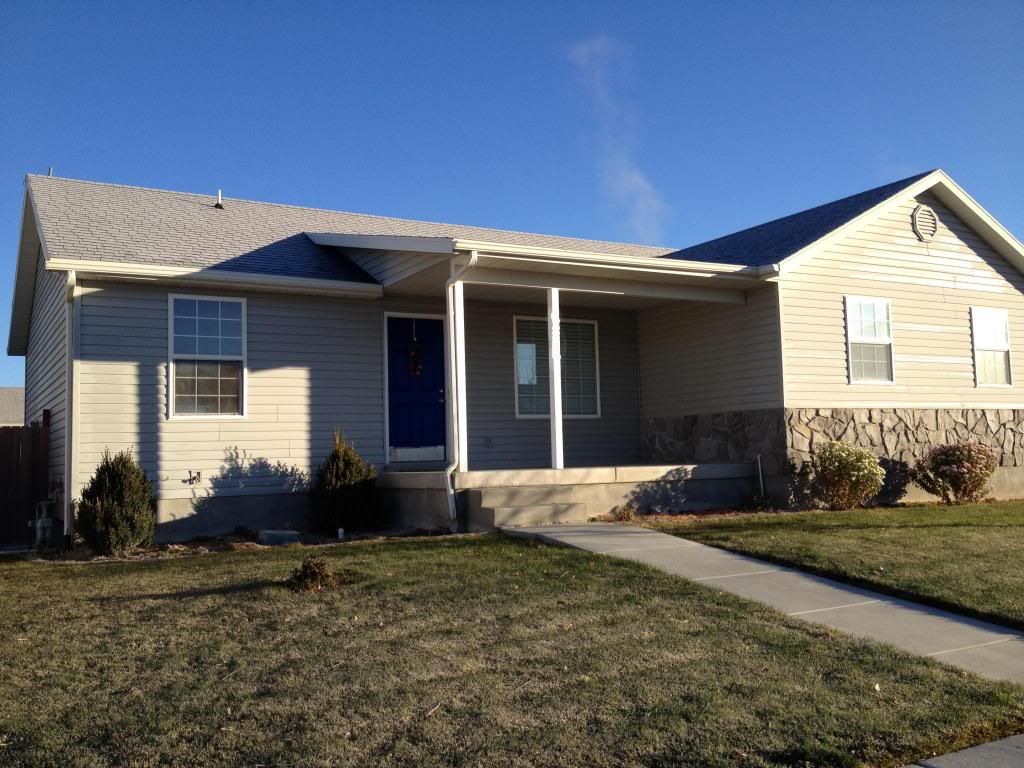


Our great, big, beautiful house.


Thursday, May 30, 2013

Bright & Sunshiney

Happy Anniversary to us! 

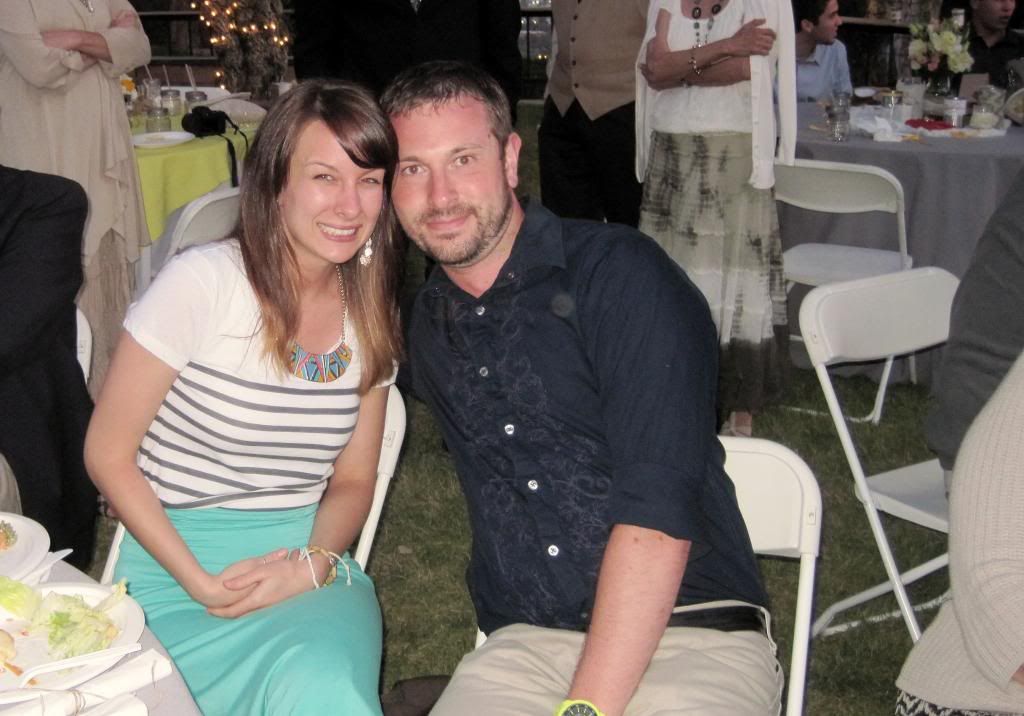
Our official anniversary is on May 29th, but because it fell in the middle of the week this year, we decided to celebrate the weekend before by taking a much-needed vacation to California. And it was fantastic!

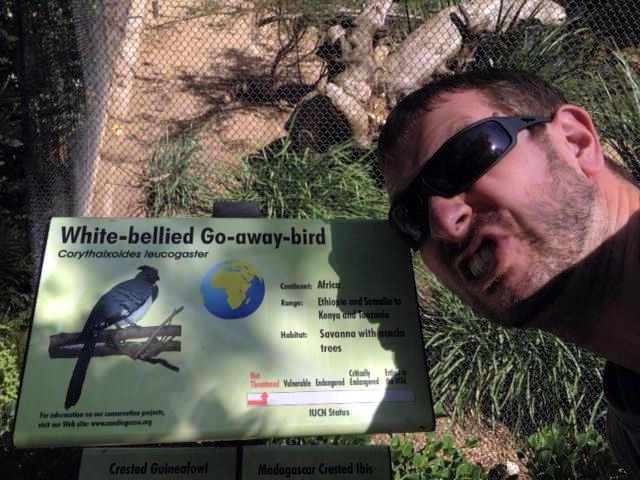
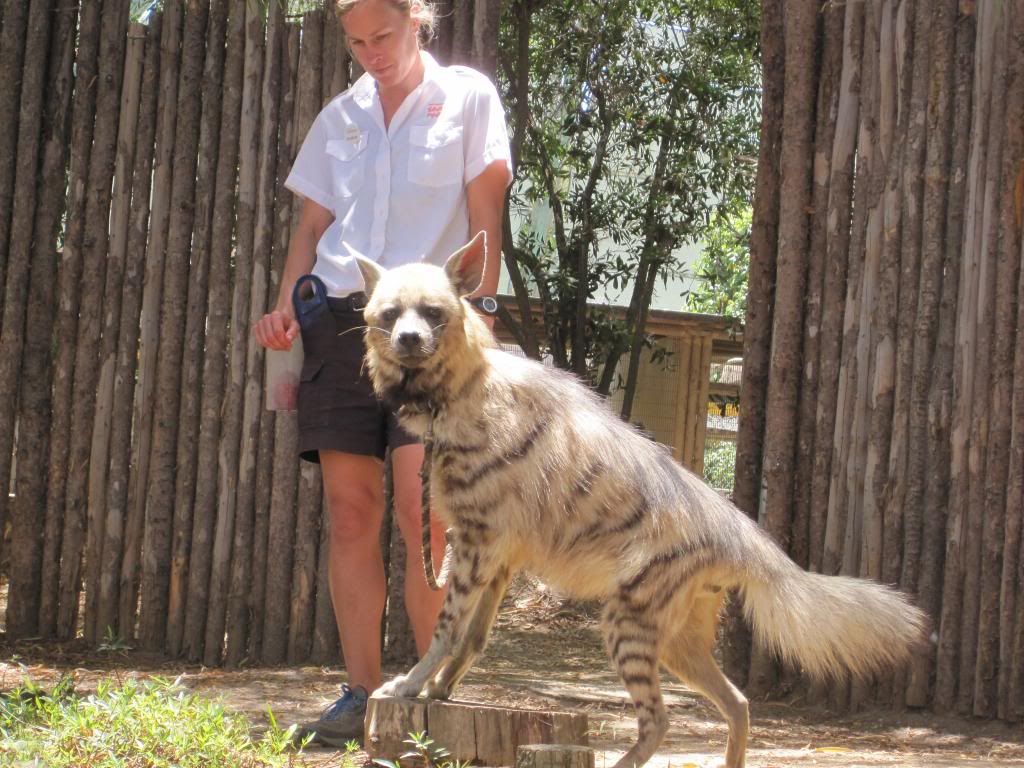
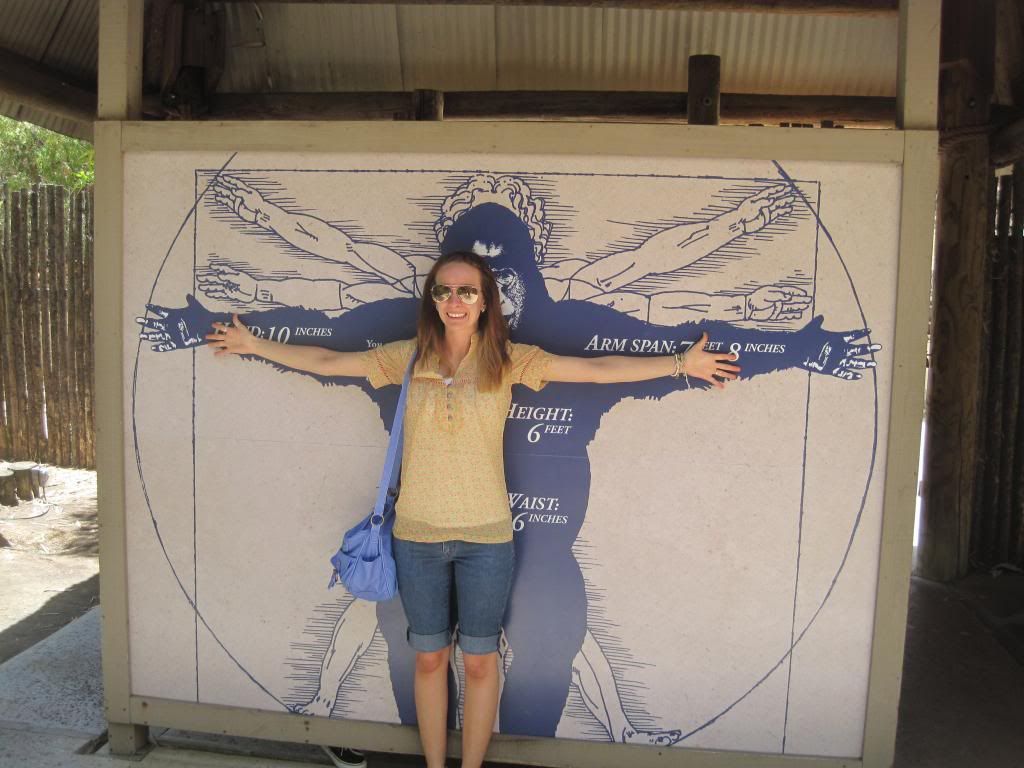
We started off with the San Diego Safari Park.. 


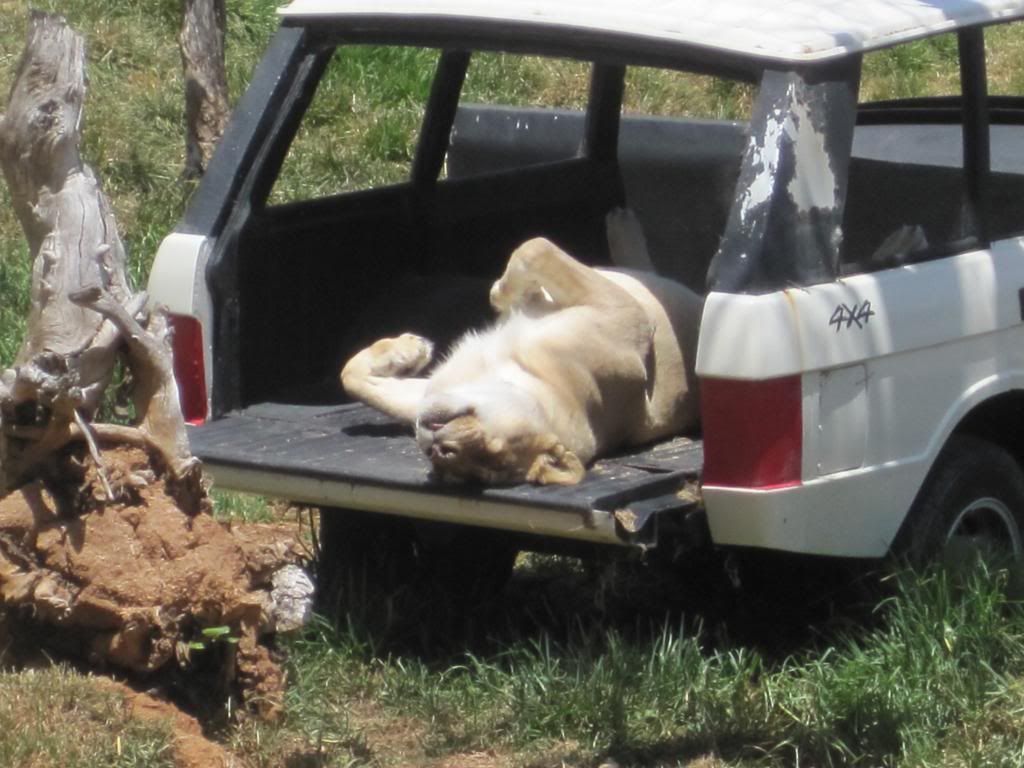
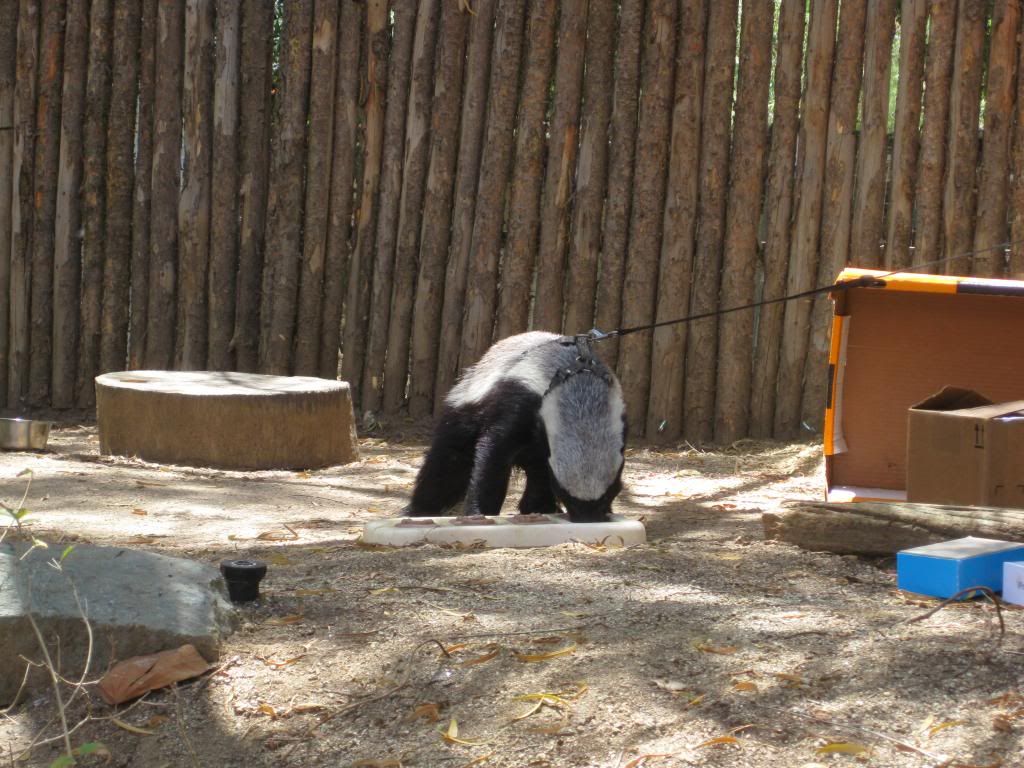
They have this awesome train that takes you around a 100-acre preserve full of animals! Besides that, you can walk around the rest of the park and see a ton of other exhibits. 


My feet were incredibly tired after that day.

That was about as adventurous as we got. The next few days we planned to do nothing but beach.


Corona del Mar is gorgeous.


That was our first beach. After chilling there all day, that night we headed over to a cousin's wedding.


Sorry, we we were too busy dancing to take any pictures. {true story.}


The next day, we decided to try Laguna Beach. We spent the first half of the day walking around the hundreds of little shops that surround the beach, eating eclairs and cream horns from a sweet little bakery.


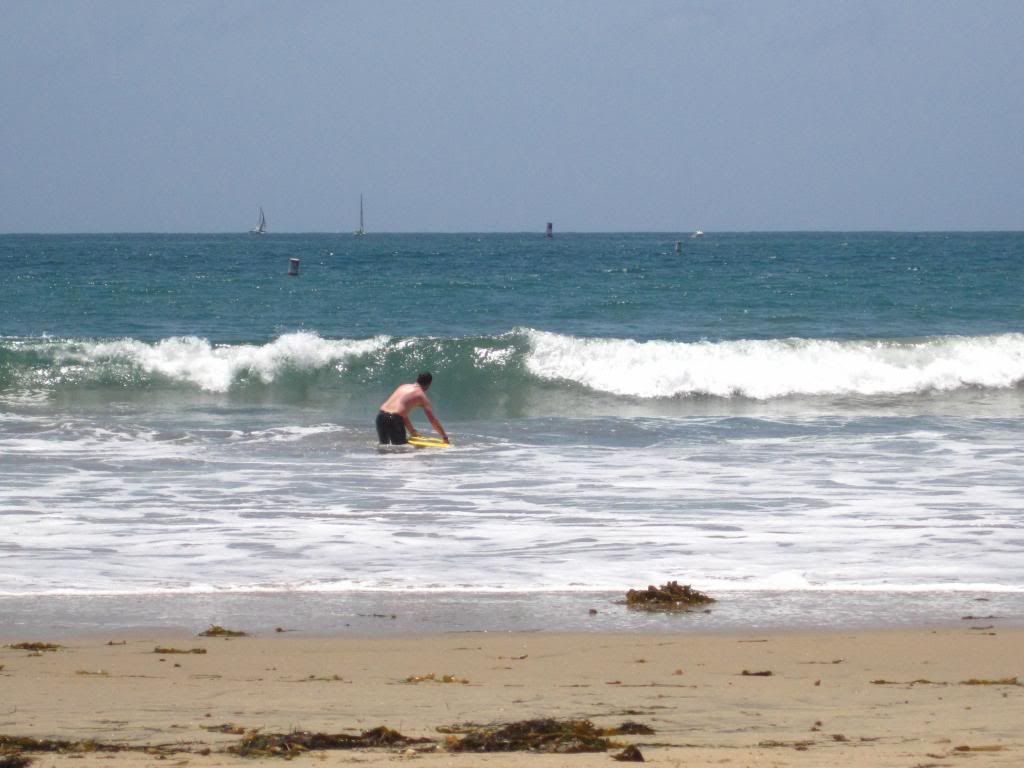
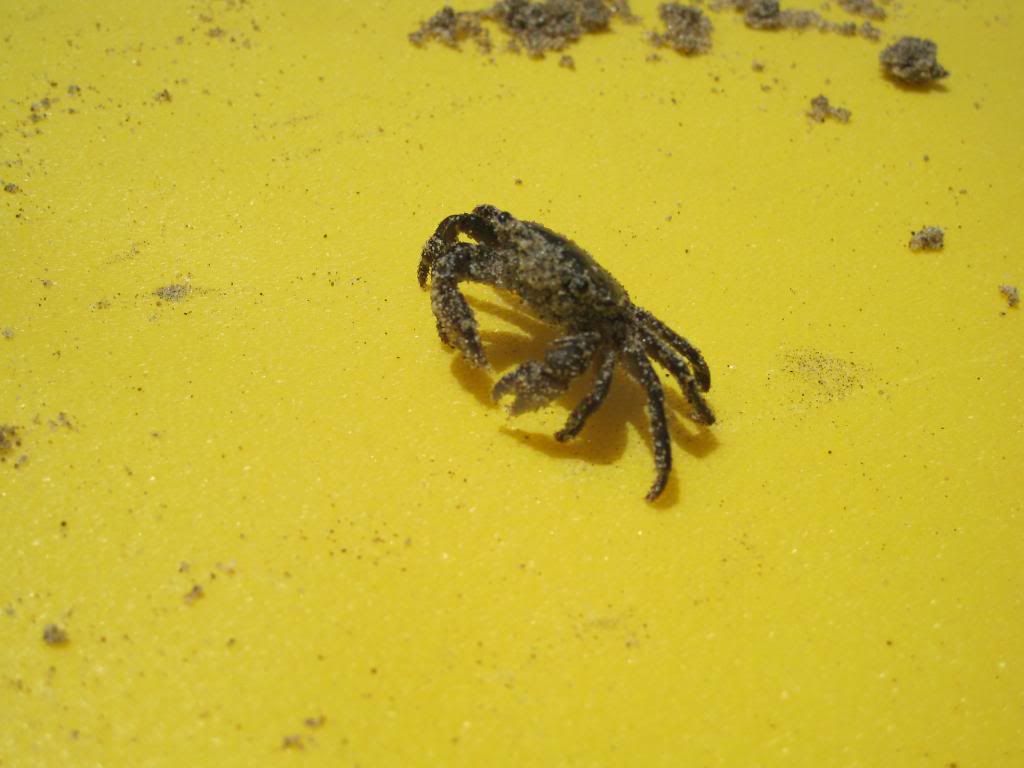
And then it was just beach and more beach.


With the occasional pause.......


....to enjoy the water.


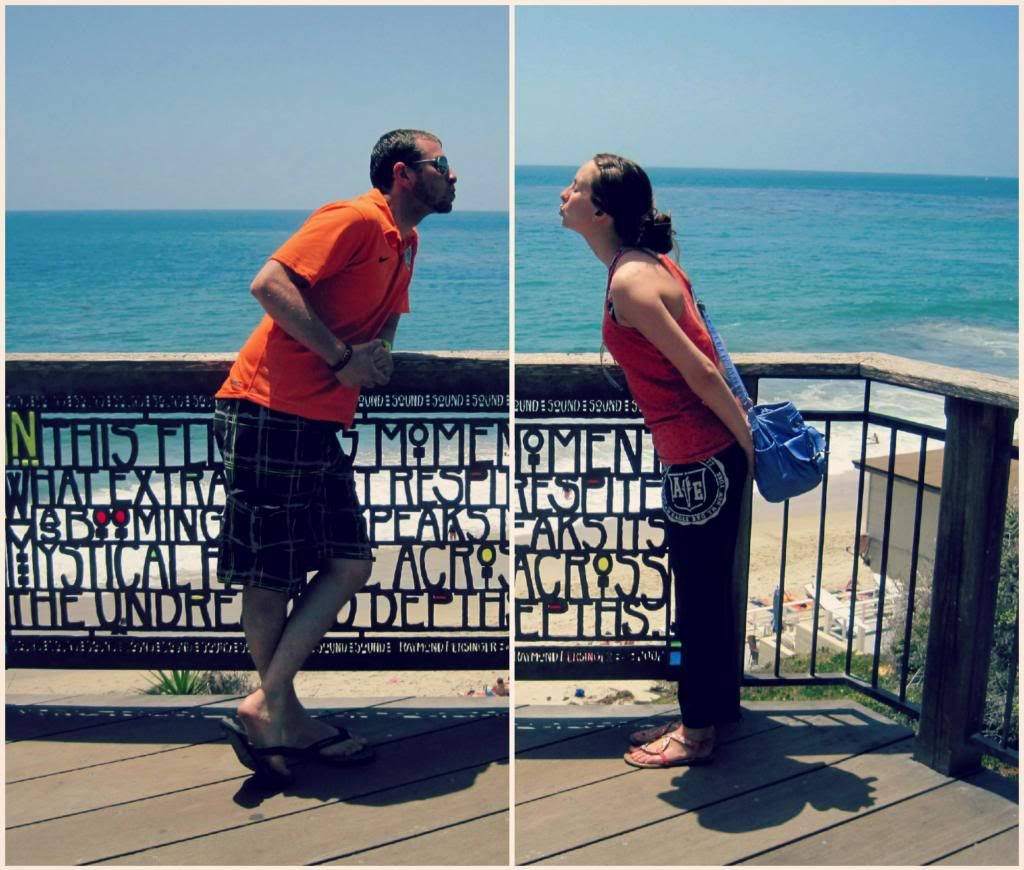
And then we found this awesome lookout point and wanted to get a picture. But since the only people to ask were a homeless man and a hippie doing a drug deal, we decided to improvise.


Not bad. 


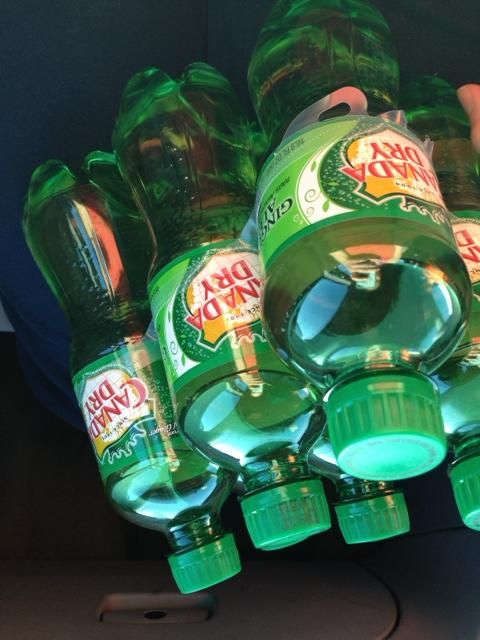
All in all, we got sunburned, ate too much food, drank too much ginger ale, got to play with my aunt's two crazy dogs, and had a great vacation.


Three years, and we're still pretty much in love {pretty much}. 


Saturday, February 16, 2013

Love Week: Valentine's Finale {2013}


I hope everyone had as fabulous a Valentine's as we did!


 photo IMG_1298_zpsb0f39d6c.jpg


I woke up to these....


 photo IMG_1278_zps0fb8d45c.jpg


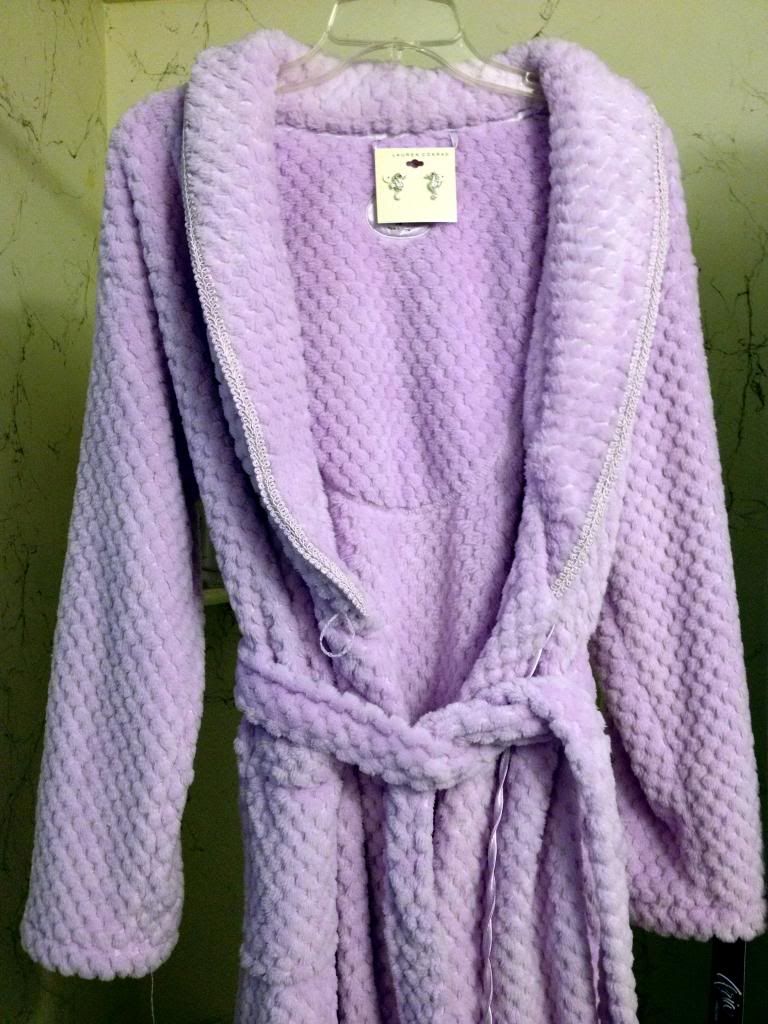
...and this....


He has taken into account both my love for tiny earrings and my love for being warm.

Bonus points!


{tmi?}


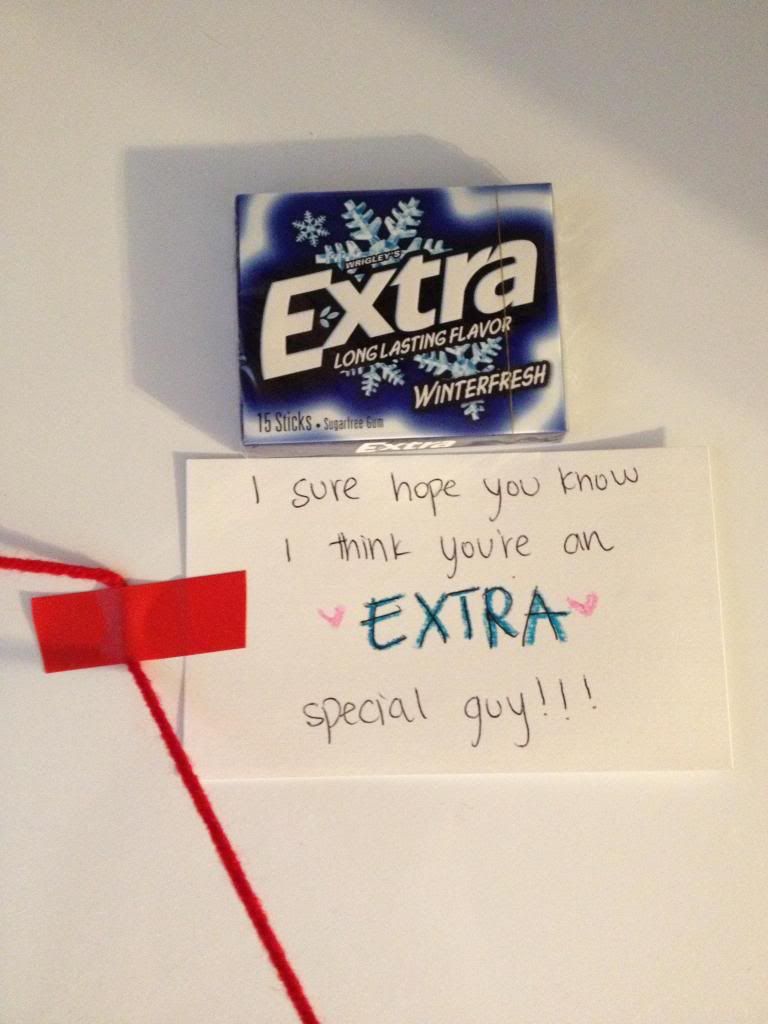
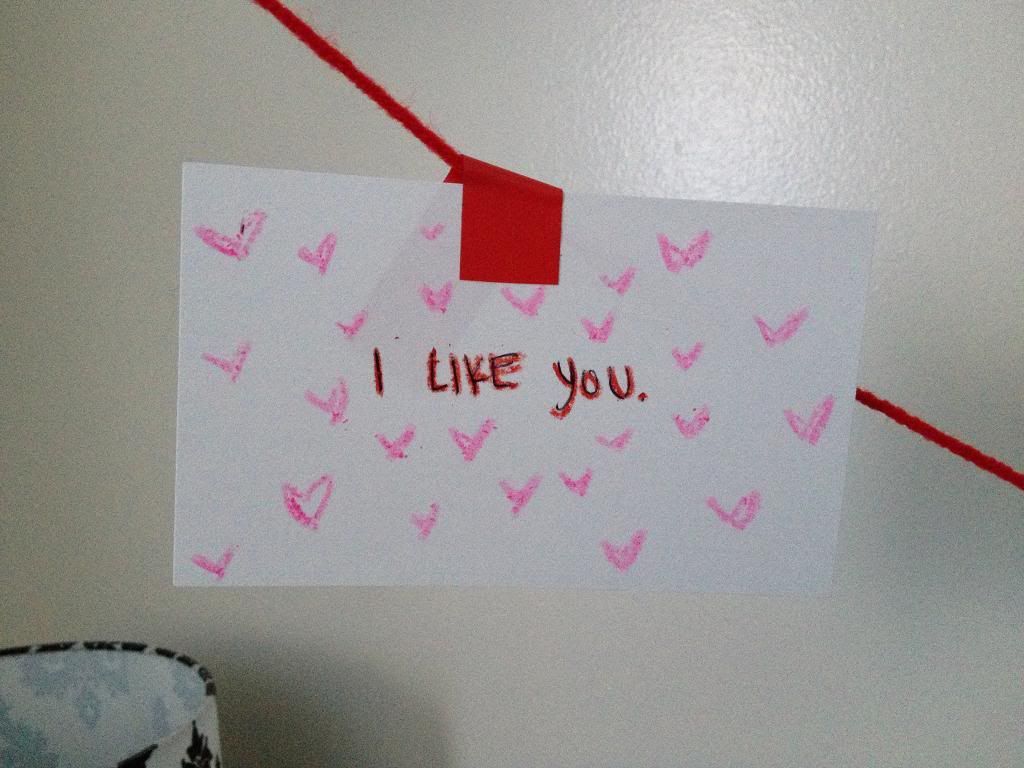
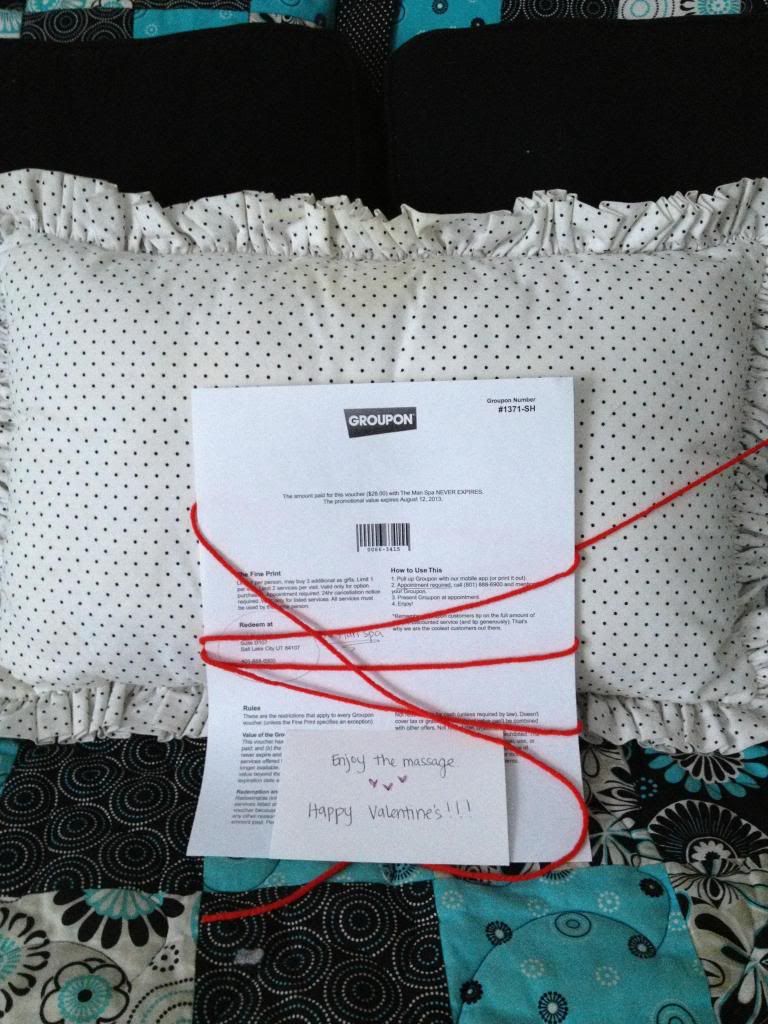
I decided to create a little 'scavenger hunt' for him.


 photo IMG_1281_zpscd437c5c.jpg


And yes, I used crayons. Because I seem to have a surplus of them around the house since becoming a primary teacher.


 photo IMG_1283_zps1912ed98.jpg


As he followed the yarn, there were a couple little treats along the way.


 photo IMG_1284_zps4929fcc3.jpg


 photo IMG_1286_zpsb2f473d1.jpg


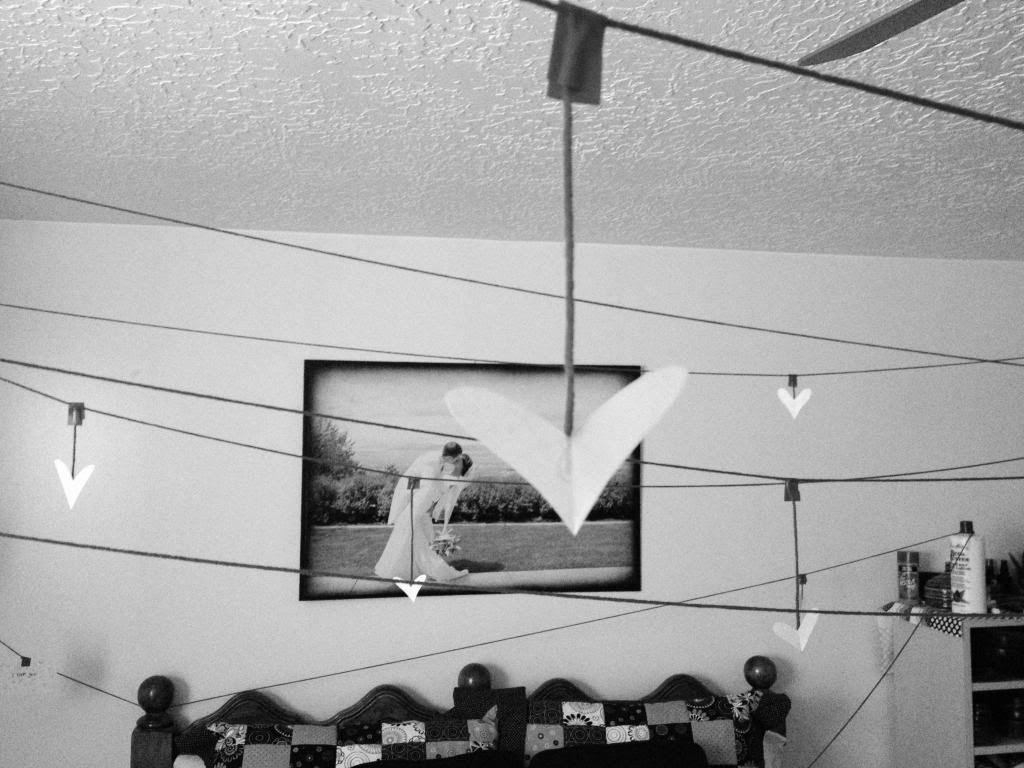
And when he finally got to our room....


 photo IMG_1290_zps856a2487.jpg


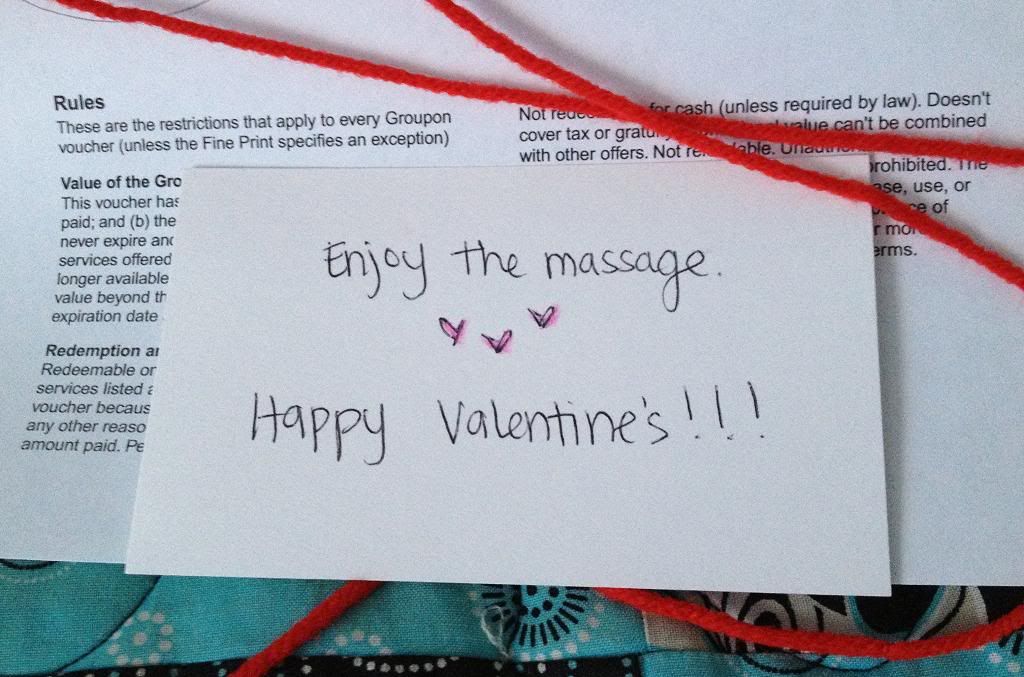
...he found this at the end:


I was pretty proud of myself at this point.

:)


Happy late Valentine's and have yourselves a lovely day!


Wednesday, February 13, 2013

Love Week: DIY

I LOVE DIY.

I don't know that much more needs to be said.


I love DIY dishtowels.


I love DIY maxi-skirts.


I love DIY refashioning.


I love DIY gifts...and DIY decor.


The DIY possibilities are endless!


I've redone end tables, re-purposed an old sweater, repainted thrift store frames, and refashioned everything from new knit fabric to oversized old tees.


DIY is FUN.


You really ought to try it sometime. As my husband always reminds me, the worst case scenario is that you might have to DIY again. 


Saturday, February 2, 2013

Adding Sleeves to a Tank Top

I was having a rather bad day yesterday, and when I have bad days....I become a {secret} spending addict.

No judging.


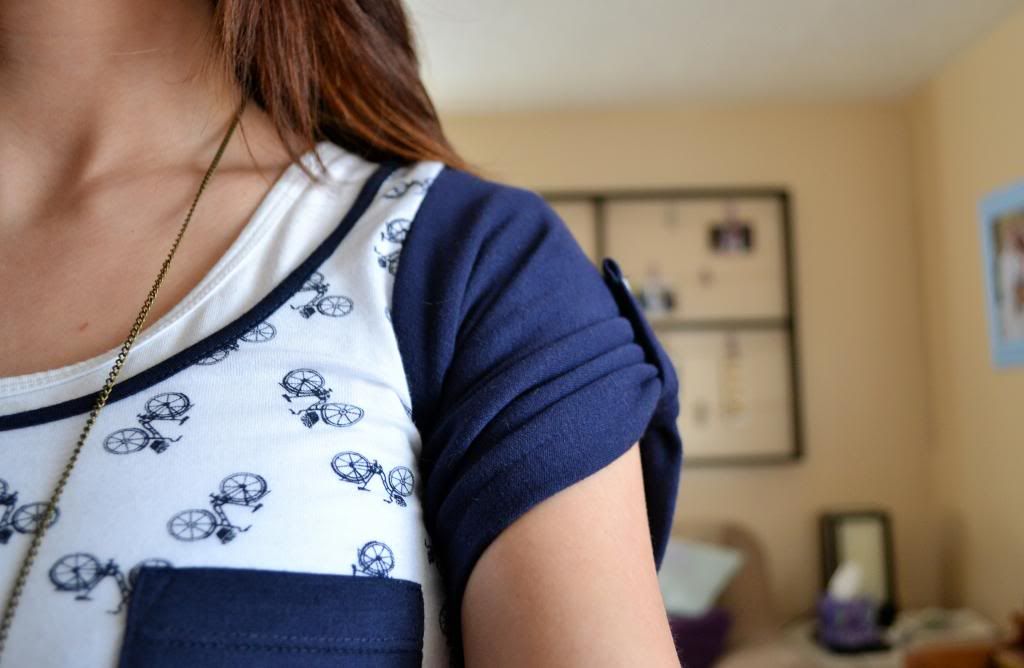
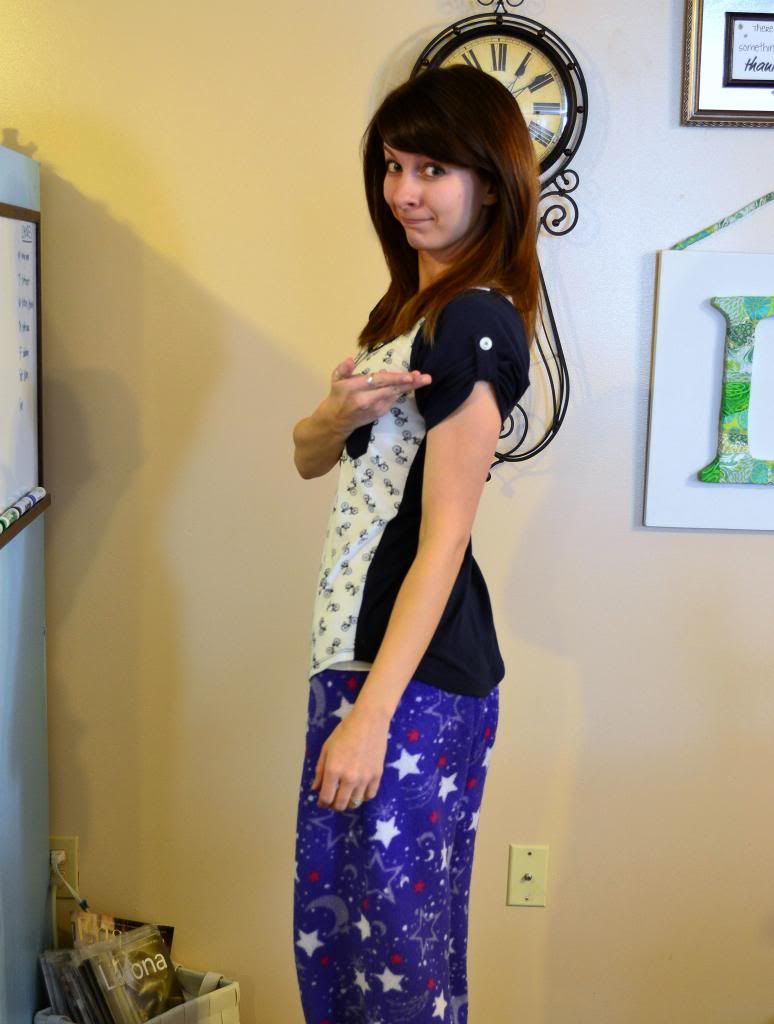
So ahem, yesterday was a bad day, and I ended up buying this top:


Because how could tiny bikes not make me feel better?!

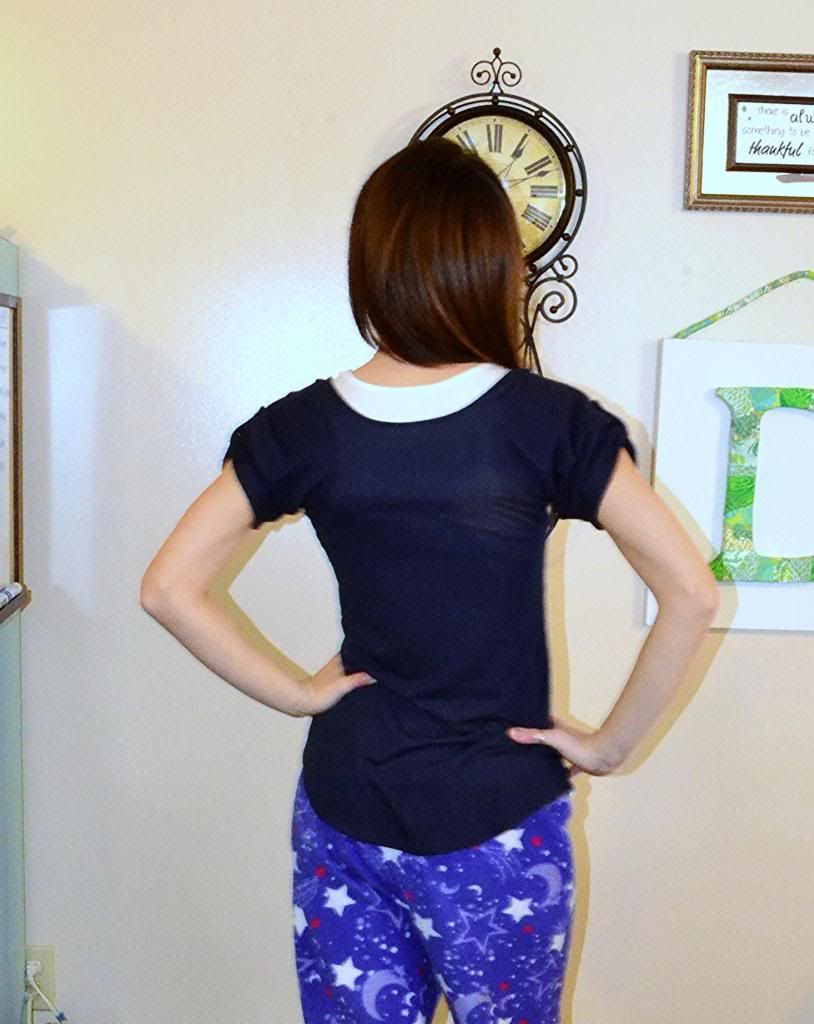
It made me think of summer, which was both good and bad. Good because, well...DUH. It's SUMMER. And bad because summer is hot, and I don't like wearing a lot of layers. And because I'm LDS {check it out} I wear sleeves. And I really didn't want to cover up this cute tank with a cardigan {plus....hot.} So I decided to make sleeves.

Easier said than done. I searched madly all over the web and Pinterest for a tutorial on how to add sleeves to a tank top. There are a few out there: Cut off the sleeves from an old tee and sew them to the tank, or add long flutter-y sleeves also made from an old tee. Bleh. Nothing was what I wanted. 


And thus this tutorial was born. 

You need:

Matching fabric & coordinating thread
tank top
buttons {optional}


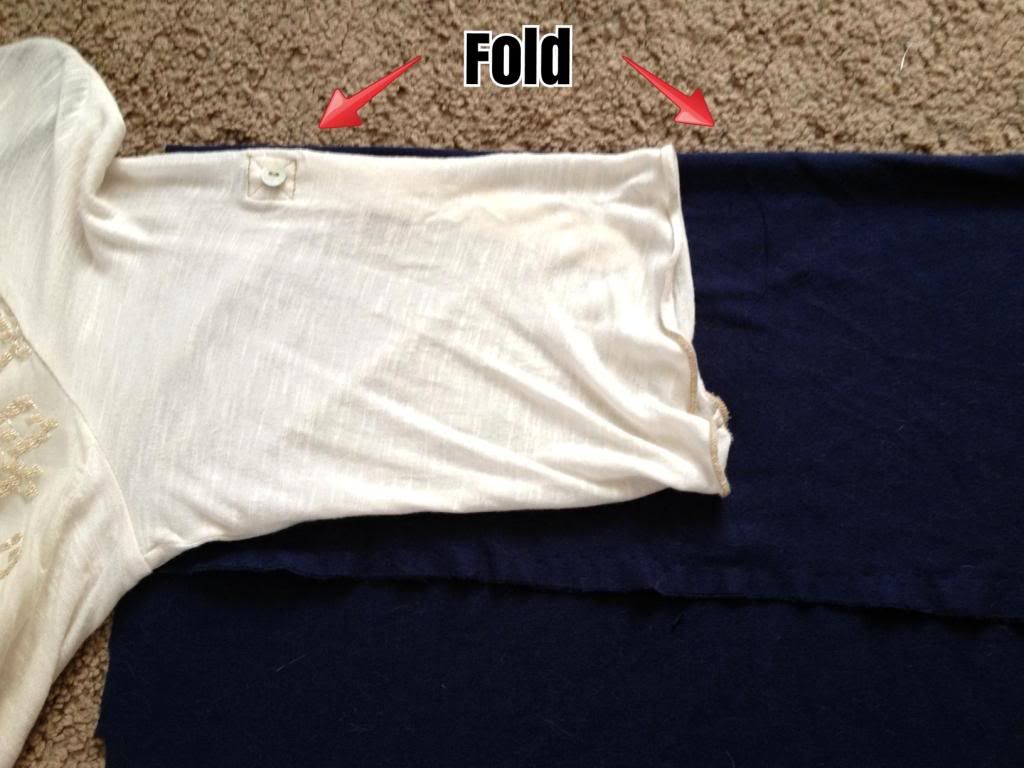
1. Fold your fabric in half. Measure from the top of your tank top to the bottom of the arm hole--this is how wide {top to bottom} your new sleeves should measure. Use another tee that you like the sleeves of to measure the length {shoulder to elbow}. Cut them out with seam allowance.


2. Cut out the "J" shape where the sleeve will attach to the tank top {forgot to take pics of this part}.


3. Sew the sleeve to the tank, right sides together. Then, sew down the length to close the sleeve {you could do this vice versa, but it worked better for me this way}.


4. Hem your sleeves to the desired length.

5. Attach button and strap if you want the gathered look.


And there you go, it's that easy. 


P.S. Don't judge me for my lack of real pants. 


Related Posts Plugin for WordPress, Blogger...